Monday, 16 March 2015

Weekending ::

A little bit of our weekend, in pictures in a mini movie ::


Monday Mini Movies :: March 15th from vicki brown on Vimeo.

Tuesday, 10 March 2015

Design a Crochet Granny Blanket :: Part Two ::

This is part 2 of a series of blog posts I'm writing to explain how I design my crochet granny square blankets, you can see part 1 here.

Step by step instructions for designing your own motif crochet blanket.

When you've chosen your yarn and once you've done a little swatching and decided what motif you're going to go with for your blanket, it's time to do some maths. Don't worry, it's nothing too scary.

The first thing you need to think about is how big your blanket is going to be. Single, double, lap, king, maybe it's for a baby. I used this source for a list of sizes

how to design a crochet granny blanket

Next up, how big are your motifs? How are you going to join them? If you're going to use double crochet to join them together then your original motif size won't alter a lot, however if you're going to add another round of treble stitches to each square obviously this will make a big difference. I'm going to finish each square with a round of treble stitches in white and I'm going to use this round to join the squares together as I go. So when taking the measurement of my square I did it with the white border added. If you're going to block your squares you'll also need to do this before taking your measurement.

Once you have these two numbers, blanket size and square size you can work out how many squares you need, then you can weigh your motif to work out how much yarn you're going to need.

I have made a little spreadsheet you can download. You're welcome to use this to do all these sums for you, but I'll talk you through the sums so that you can also understand how these results are created.


Above you can see how the spreadsheet looks before you've entered any numbers. 
The first thing you need to do is plug in the numbers specific for your blanket. Firstly the details from your yarn, the grams and metres per ball as given on your ball band.


Next you need to add the size of the blanket you would like to make, so add your measurements to the line on the yellow table that reads 'Blanket Size' you can use whatever unit you like for this, whether it be cms or inches etc, but make sure you keep to the same unit for both your blanket measurement and your motif measurement. I recommend using cms but only because that's what I'm used to using myself. I'm aiming for a blanket that measures around 203cm x 228cm so these are the numbers I put in.
Next you add your motif size, my motif is square and measures 17cm x 17cm, so these numbers go in your yellow table where it reads 'Motif Size'.
In the second to last row you'll now be able to see how many motifs you need to make your blanket, this is a rounded number, as it's unlikely the size of your motif will fit exactly into the size you're hoping for, therefore in the row marked 'Finished Size' you can see what the measurements will be with the actual motif quantity.

So now we know how many motif's we need to make, but how much yarn do you need to buy?

There are two ways of working this out and I actually used both for my calculations. For the 6 colours that make up the main part of my motifs, I used the weight and for the white that surrounds my squares and joins them all together I used the length of the yarn used.


To calculate with the weight of your motif use the red table as follows; firstly weigh your motif using digital scales to get an accurate measurement. My squares, without the white border, weigh 15g so that's the measurement I enter in the first row of the table. As I aim to use 6 colours equally throughout the blanket I enter 6 in the second row. 
If you plan to use different amounts of each colour I'm afraid this table won't calculate that for you, but as you'll have the total number of balls needed, it shouldn't be too difficult to work out yourself. 


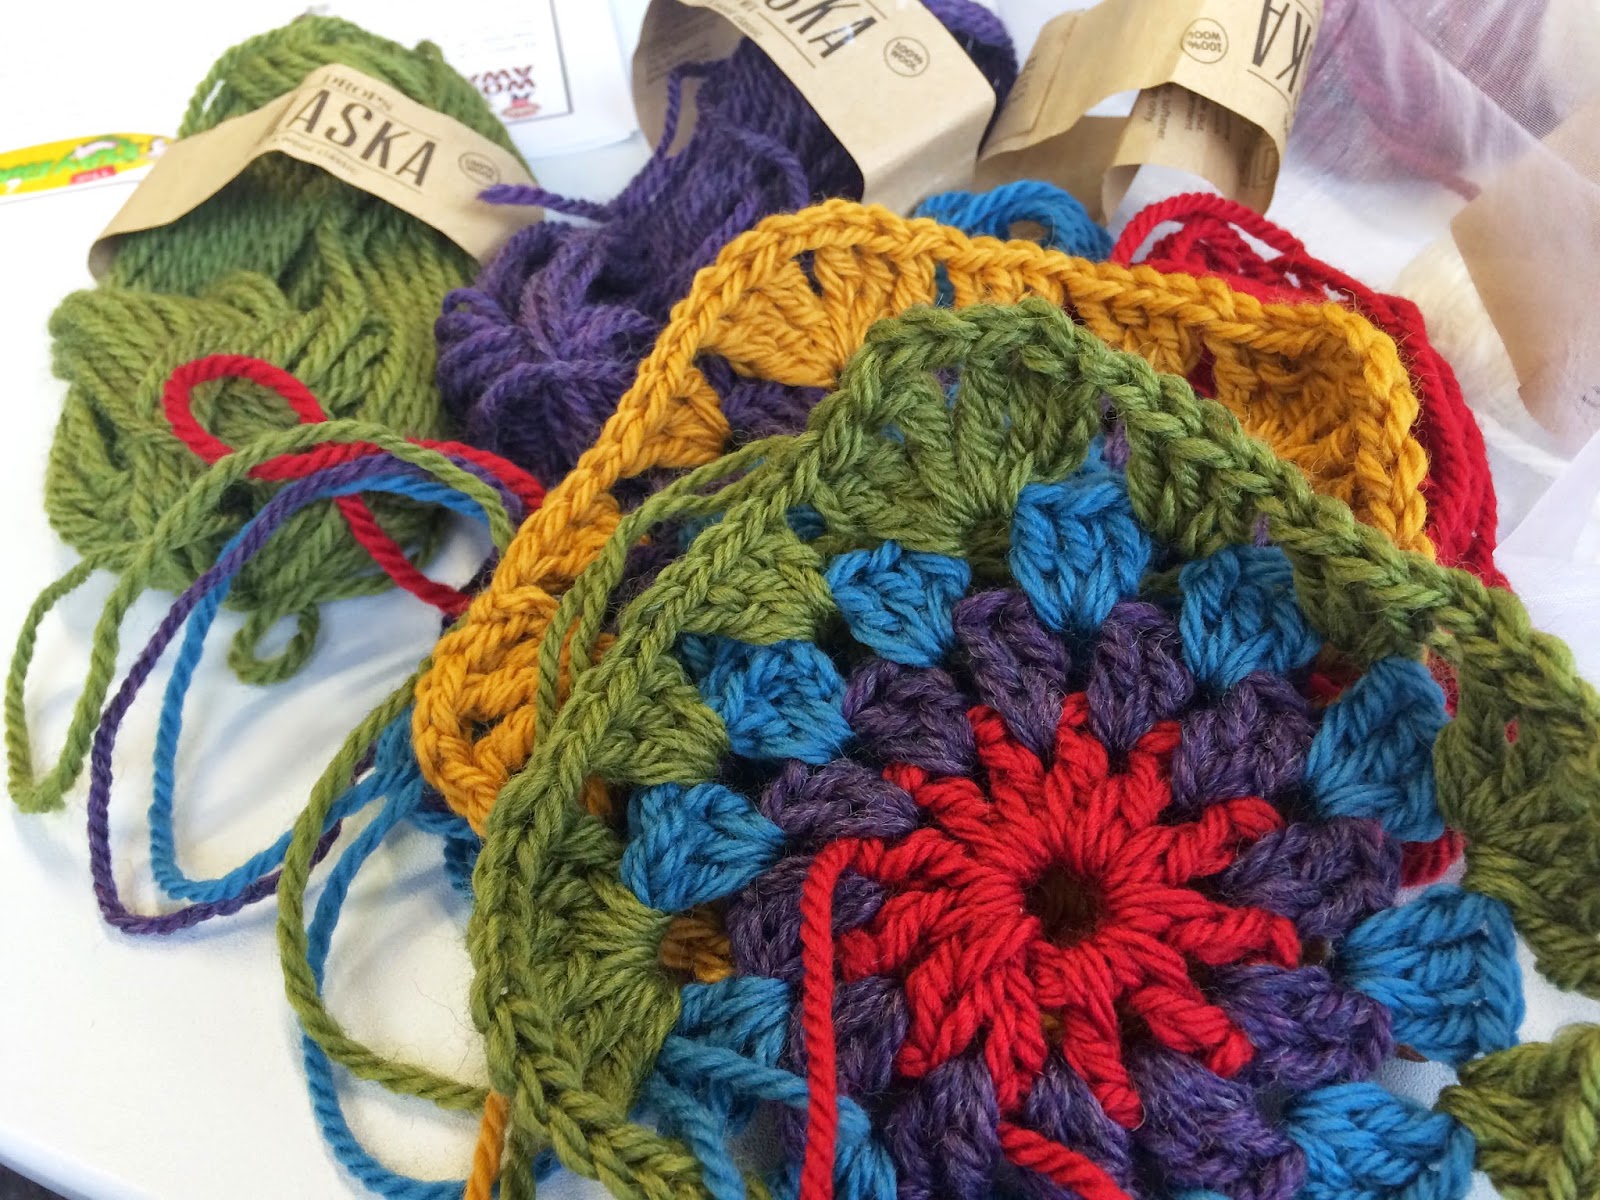
I calculated the quantity of white needed separately, as each square will have a round of this, therefore I will need white than any other colour. To do this I worked one round around my motif in white, then ripped it out! I then measured the length of the yarn I used. This measured 5.2 metres (520cms). Therefore this is the number that I put in the first row of the blue table. I'm only calculating for one colour here, so the second row is 1. I can now see that I need 12 balls of white yarn.

I now know that I need 8 balls of yarn in each of my 6 colours and 12 balls of yarn in white and I need to make a total of 156 motifs. Now to get to work on all those motifs!

Designing a crochet granny blanket

In the next part I will share the pattern for the motif I'm using and explain how I'm joining my motifs as I go.

You can see Part 1 of this series here.


Monday, 9 March 2015

Weekending ::

What a gloriously sunny weekend it was. It really feels like spring is here. It was so warm on Saturday we didn't even need our coats and I've even begun to hang washing on the line, pure bliss.

Due to the wonderful weather we spent a lot of time out and about this weekend, Saturday I took the babies to the library followed by lunch at Milo's favourite Smokey Joe's. Then on to meet Johnny at the barbers for haircuts for the boys.


Sunday morning we headed out early for the cinema, where we watched Planes, Fire and Rescue. You know, it was actually a lot better than I was expecting, I'm not a huge fan of those movies, though that may be due to the million and three times I've had the pleasure of watching the original Cars movie.
Followed by lunch at the fabulous Mexican place we've been meaning to visit for ages. It was so good and so reasonable too


I went for a run with Bex in the afternoon. It was super tough, I'm not sure why, but oh my it was. We've both been under the weather for various reasons the last few weeks and been missing runs here and there so I expect that may have something to do with it. I'm still keen to keep going though, partly because when we're not desperately trying to catch out breath it's lovely to see Bex and have a little gossip.

I've been joining in with Xanthe Berekely over on Instagram for #mondayminimovies inspired by the creating time capsules course. Making a little movie of our weekend to share on Monday. I'm really enjoying it, it's inspiring me to capture the little moments of our weekend and put it together in to a little 15 second clip. Here is this weeks ::


Monday Mini Movies :: March 7th from vicki brown on Vimeo.

Thursday, 5 March 2015

World Book Day ::

Happy world book day to you, if you don't have children you may not be aware of this momentous occasion, if you do have children you will probably acquaint those words with the dread of having to put together a book themed costume for your little one. I actually really like making costumes, we're just not all that great at getting them ready any sooner than the night before. The other thing is persuading your child to go as a book character, not their favourite T.V. character. I won't lie a lot of mum's break these rules, I expect half the girls will be Elsa today, but I try to stick vaguely to them. 
Previous costumes have included, Charlie Bucket, Batman, one of Captain Hook's pirates and Max (from Where the Wild Things Are and my favourite).


This year Milo wanted to be Harry Potter. I tried to convince him to be the Gruffalo (he has a fab Gruffalo costume) but he wasn't having it.

So in the spirit of previous years we waited until after school yesterday to do anything about it. We collected a stick on our way home to serve as a wand, mended his batman cape and added a ribbon fastener, created a pair of glasses out of cardboard and decorated a t-shirt!


I had intended to hunt out a tie, knit a scarf and get hold of appropriate attire but well, time, baby and all manner of other excuses. However we were recently sent some Fruit of the Loom t-shirts from Buy T-Shirts Online, so I figured this would be the perfect opportunity to put one to good use. Using a lego minifigure of Harry as a guide I drew on the v of his v-neck sweater, the badge and the tie and Milo coloured them in with some fabric paints.


I'm actually pretty impressed with our handy work, yes it could have been better if I had done it all myself, there wouldn't be so many black smudges for a start, but where would be the fun in that? With some lipstick in his forehead he was ready and mightily pleased with himself.  

Wednesday, 4 March 2015

How To :: Make Faceted Beads ::


I recently found myself experimenting with a new (to me) air dry clay by fimo, called Air Dry Light, that I picked up at Craft Hobby and Stitch a few weeks ago. I decided to make some of my geometric beads for painting, as I was making some I thought I'd share with you a little 'how to' so you can make your own if you so desire.

Make your own faceted beads from air dry clay.

They're really easy to make, look great and you can use any kind of air dry or polymer clay.

The air dry light I used is very odd, the finished result reminds me of polystyrene and it certainly is light. I quite like the effect. I decorated mine with sharpies, but actually I think if you were to use paints and varnish them you'd get a better result.

Monday, 2 March 2015

Weekending ::

A little bit of our weekend in pictures.

Mostly a quiet one, with lots of crochet, cuddles with the babies and good food.


Sunday, 1 March 2015

This Week ::

A round up of some of my favourite moments from my Instagram this week ::