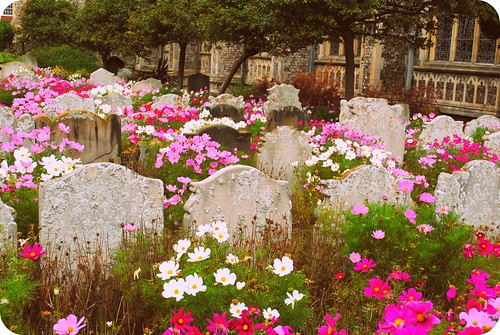
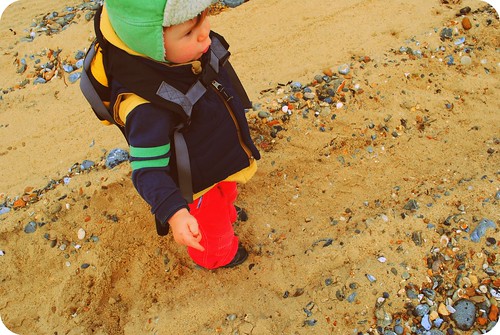
Ahhhh a new year, it always feels so good, so fresh, a great excuse to make new plans, set new goals and achieve new dreams.
Last year I decided I was ready to start writing and hopefully publishing my own crochet patterns, and it was a pretty good success, I had my first pattern commissioned the day before my birthday back in August, 'inside crochet' have now published two of my patterns, have two more waiting to go and one more due at the end of this month. This has been a great introduction for me, but this year I have more grand crochet pattern ideas, including a book proposal and a plan to write a pattern a month to sell as a downloadable PDF both on etsy and through ravelry.
I have lots of other hopes and dreams and improvements to make, but I always think it's better to try and concentrate on one achievable goal at a time rather than going crazy trying to change everything about yourself just because of date change!
Wishing you a a very very happy and prosperous 2012.
Saturday, 31 December 2011
Thursday, 3 November 2011
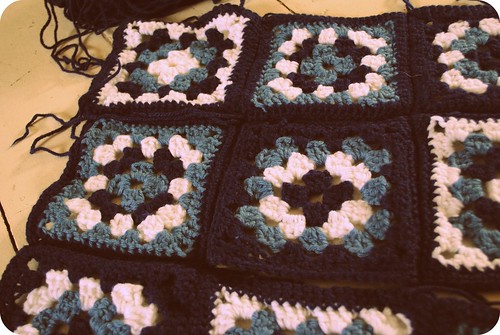
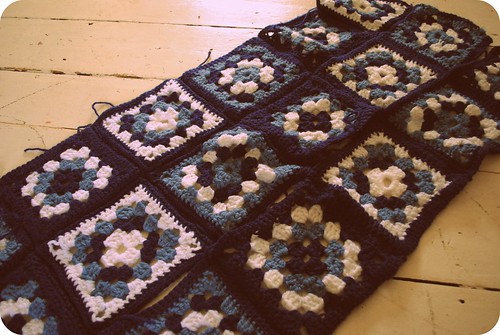
work in progress :: navy afghan ::
I've recently been going through my huge stash of yarn and in the process coming across all sorts of uncompleted projects. I don't think this is any great surprise to fellow crafters, it's something I think we're all pretty good at (there was a woman at the craft night I used to attend who had a cardigan she had been knitting for 20 years, when she came in wearing the finished garment, the whole group burst in to applause) but I do think I'm probably particularly good at abandoning projects somewhere just past the middle. So in an effort to inspire me to finish them, I thought it a good idea to put them in my ravelry notebook (a lot of these were started long before I joined ravelry!) and blog about them here, therefore making them more obvious to me than when they are hidden inside a big old box of yarn!
So here goes, here is the first!
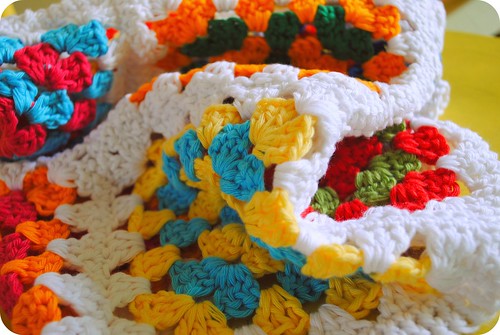
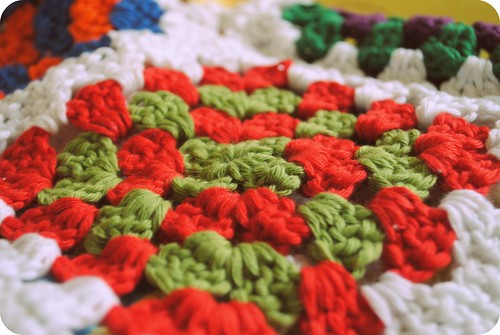
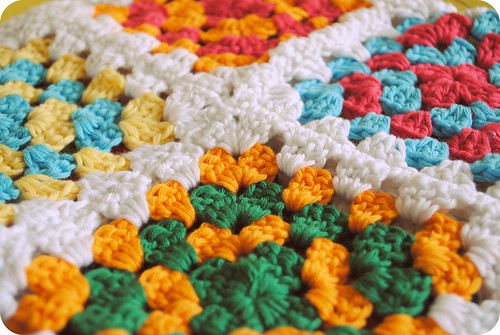
The first ever granny blanket I started making, possibly the first ever granny square I made, and certainly the first project I purposely went out to choose yarn for. The original pattern and idea came from Erika Knights 'Simple Crochet', which was also the first crochet book I owned.
It's not even like there is an awful lot left to do on this poor neglected blanket! All I need to do is edge a few of the squares in the navy and then put them all together. At some point I've even weaved in all of the ends.
Really there is no excuse for this pure neglect! I now even have a little boy who's bed will be perfect for a snuggly blue granny blanket like this, it's very strange to think how much my life has changed since I started it!
Wednesday, 2 November 2011
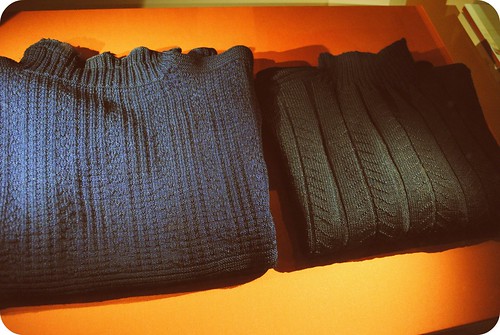
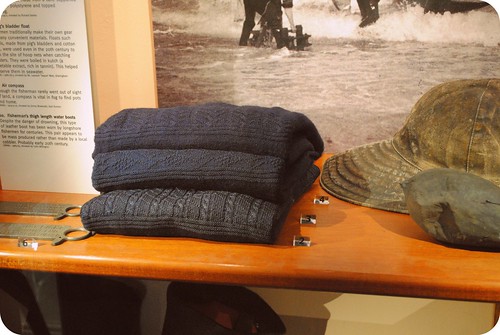
norfolk ganseys ::
Last time Milo and I were up at my Mum's, we took a walk around the local museums, which include the RNLI Henry Blogg Museum and the Cromer Museum. Both were great and Milo loved them. But the thing that must struck me from both was the fisherman's ganseys, I noticed them instantly in the portraits hung around the lifeboat museum and both places had displays devoted to the craft and history of the beautiful yet practical hand knits.
There's something so romantic in my mind about this art. I know from my own knitting experiences how lovely it is to knit/crochet for someone else. Every time I've made a gift, whether it be a blanket for a wedding, a pair of socks for a not yet born newborn or a sweater for a niece, I tend to spend a huge amount of the time I'm working on the item thinking of it's recipient. So just imagine knitting up such an time consuming piece, that will become a real staple in your loved ones wardrobe, a hugely important garment to keep him warm out at sea. To me that is such a fabulous thought.
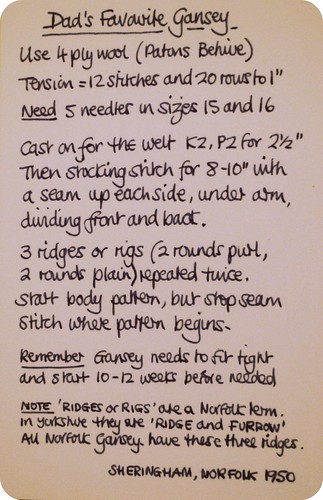
Ganseys were traditionally knit in 3ply wool, in the round on 5 or more needles. They are cast on with doubled up yarn, to give them a bit more strength, then a rib is worked, followed by stocking stitch, up to the armpits, incorporating a column of purls on either side to create a false seam, at the armpits 3 rows of 'welts' or ridges are created with rows of purl stitches, after this the pattern begins. Apparently different seaside towns had their own patterns, but I've read various things that have said many patterns have been discovered in single towns so I expect the knitters just got a bit creative and made up their own. The sleeves are picked up from the body of the jumper and worked down, so they can easily be unpicked and repaired.
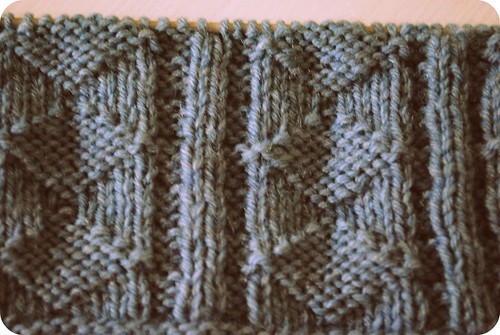
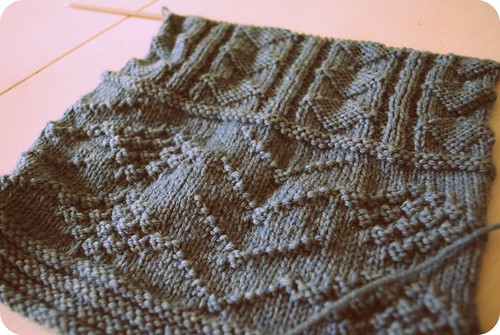
As soon as I got back from learning all about these fabulous knits I started knitting up some samples of the chest patterns. They looked good enough to inspire me to knit up a full sized version, only problem being I don't have a fisherman to clothe, or even a man who would have any interest in wearing a gansey. However I do have a little man in my life, who would love to be a lifeboat man and still lets me dress him in whatever I want to, most of the time anyway. So I've cast on all those tiny stitches (I've never knit a garment in 4ply before, it does seem like so much knitting, even for a toddler sized sweater), I've worked the rib and am about half way up the bottom section, I can't wait to get started on the chest pattern, but I've still got quite a way to go yet before I can think about that! I've also not yet decided which one I'm going to go for, there are so many great patterns in the information I've picked up, but I'm considering the possibility of making one up myself. I have thoughts of robots maybe! I shall keep you updated!
Tuesday, 1 November 2011
we'll eat you up, we love you so ::
A very happy (belated) halloween. I hope everyone was super spooked and treated.
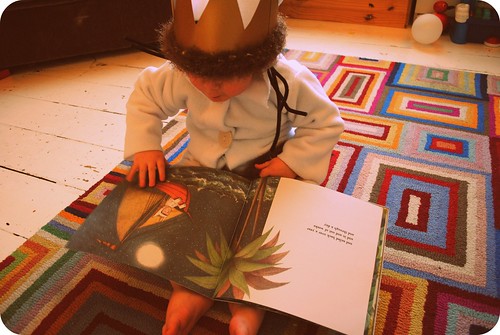
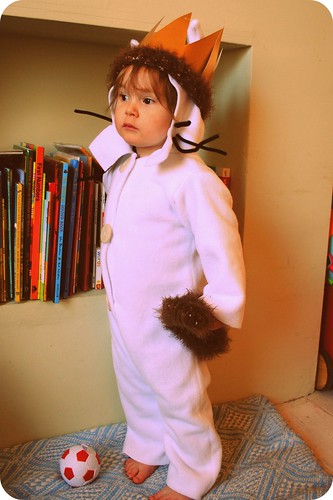
Milo and I had a fabulous time. I had thought about throwing a party, but the reality of all that planning was just too much! However I did make Milo his very first costume, we decided together to make a costume of Max, from 'Where the Wild Things Are', which is favourite book of everyone in this house.
In all honesty it wasn't too difficult to make and I'm quite impressed with the finished piece. I simply traced around one of Milo's sleepsuits to make the main piece, added a hood, with ears, after reading a few tutorials on the subject, sewed in some whiskers (made from pipe cleaners). Then I bought some furry yarn to crochet the tail and the fur trim on the crown, it almost certainly would have been easier to use furry fabric for this task, but the craft shop didn't have any in a suitable colour. For the crown we very simply used an A4 piece of gold card, cut in a zig zag and stuck together. There was going to be feet and hands and scepter, but you know sometimes life gets in the way of all these wonderful plans!
Either way Milo loves it and had a great time trick or treating with the other boys in the street. We did have a last minute realisation that we had left Milo's crown on the postman pat van at the supermarket! Literally 10 minutes before we left the house, fortunatley I had some left over gold card, so we whipped up another one and stuck a few strands of the furry yarn around the edge! Not as good as the original but better than nothing (the pictures are with the original crown).
Wednesday, 26 October 2011
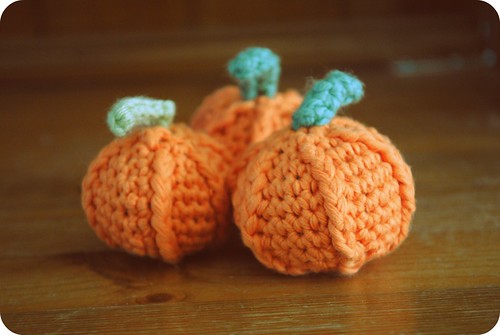
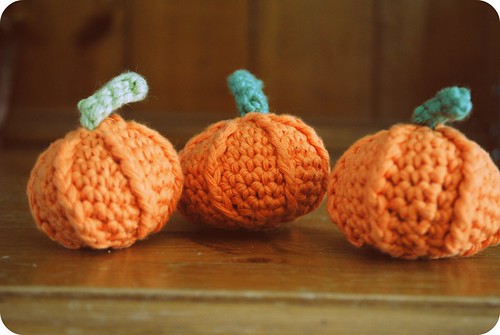
little pumpkins :: a pattern
I made these little ones up on a lazy saturday morning, with a toddler 'helping', they're pretty easy and super quick, so I thought I'd share my pattern with you here.
I quite like them simple and plain but you can embroider a face on them too if you like.
ingredients ::
orange double knit cotton (I used rowan milk cotton in 'fruit salad')
green double knit cotton (I used debbie bliss organic cotton)
stuffing
black embroidery thread (if you want to put a face on)
4mm hook
embroidery needle
method ::
for the stork ::
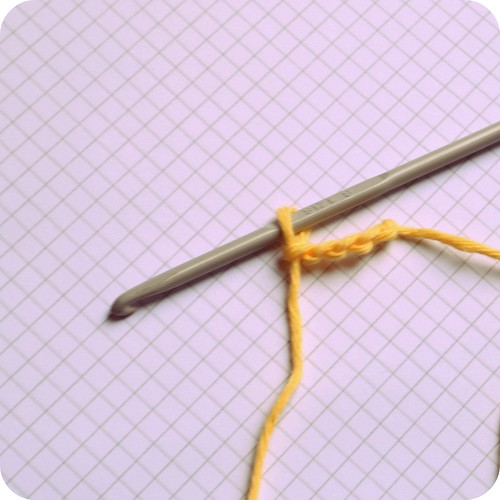
leaving a long end and using the green cotton, chain 7
row 1 ::
work 1 1dc in to the second chain from hook, then 1dc in to each of next 5 chains.
row 2 ::
working in to both the top of the stitch you just made and the bottom chain, work 1dc, do this all the way along the row, making a tube of sorts.
fasten off, leave a long end, thread the end on to a needle and bring it through the stork to the bottom, so both end s are at the same end.
for the pumpkin ::
using the orange cotton, chain 2
round 1 ::
work 6 double crochet in to second chain from hook, join to top of first chain with slip stitch.
round 2 ::
1 chain, *2dc in to each stitch, repeat from * to end.
round 3 ::
1 chain, *1dc, 1 treble round post of dc below, 1dc, repeat from * to end, make sure you are working in to the top of each stitch with the double crochets you are working and around the post of each treble crochet below, so that you are increasing the amount of stitches you have to 18, join to top of first chain with slip stitch.
round 4 ::
1 chain, *1dc, 1 treble round post of tr below, 2dc, repeat from * to end, make sure you are working in to the top of each stitch with the double crochets you are working and around the post of each treble crochet below, so that you are increasing the amount of stitches you have to 24, join to top of first chain with slip stitch.
round 5 ::
1 chain, *1dc, 1 treble round post of tr below, 3dc, repeat from * to end, make sure you are working in to the top of each stitch with the double crochets you are working and around the post of each treble crochet below, so that you are increasing the amount of stitches you have to 30, join to top of first chain with slip stitch.
round 6 ::
1 chain, *1dc, 1 treble round post of tr below, 3dc, repeat from * to end, this time you are working straight and not increasing stitches, so don't work in to the top of the treble stitch, 30 stitches, join to top of first chain with slip stitch.
round 7 ::
1 chain, *1dc, 1 treble round post of tr below, 3dc, repeat from * to end, this time you are working straight and not increasing stitches, so don't work in to the top of the treble stitch, 30 stitches, join to top of first chain with slip stitch.
round 8 ::
1 chain, *1dc, 1 treble round post of tr below, miss 1dc, 2dc, repeat from * to end, you are decreasing stitches this round, so you should finish with 24 stitches, join to top of first chain with slip stitch.
round 9 ::
1 chain, *1dc, 1 treble round post of tr below, miss 1dc, 1dc, repeat from * to end, you are decreasing stitches this round, so you should finish with 18 stitches, join to top of first chain with slip stitch.
round 10 ::
1 chain, *1dc, 1 treble round post of tr below, miss 1dc, repeat from * to end, you are decreasing stitches this round, so you should finish with 12 stitches, join to top of first chain with slip stitch.
Thread one end of the stork you made earlier, through the centre hole at the top of pumpkin and the other through one of the gaps between the stitches on the row of crochet below, tie the two threads together really tightly so the stork won't come loose.
Stuff the pumpkin nice and plumply!
round 11 ::
1 chain, *1dc, miss 1dc, repeat from * to end, you should now have 6 stitches.
Fasten off, leaving a long end. Thread the needle on the long end and stitch together the gap at the bottom.
Friday, 21 October 2011
Granny Cowl :: A Pattern
ingredients ::
I used ::
rico cotton essentials DK
1 x 50g ball white
1 x 50g ball green
1 x 50g ball banana
1 x 50g ball purple
1 x 50g ball tangerine
1 x 50g ball grass green
1 x 50g ball red
1 x 50g ball light teal
1 x 50g ball orange
1 x 50g ball fuschia
1 x 50g ball navy
any double knit cotton (or indeed any other type of yarn) in various colours would work too.
4 mm crochet hook
Abbreviations ::
ch - chain
ss - slip stitch
dc - double crochet
tr - treble
method ::
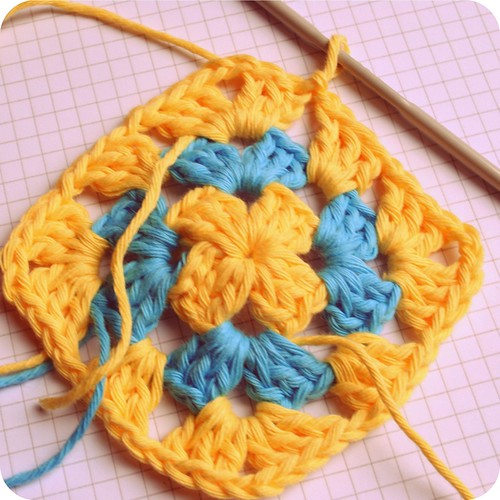
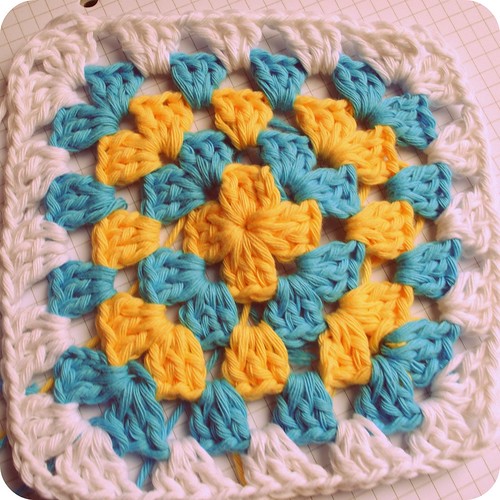
Make 8 granny squares in different colour ways.
The colour combinations I made were :
orange/navy
grass green/red
green/purple
red/yellow
fuschia/light teal
fuschia/tangerine
light teal/banana
green/tangerine
each with a white edge.
to make a granny square ::
Leave a long end, make 4 chain and join to first chain with slip stitch.
Round 1:
3ch, 2tr in to ring *2ch, 3tr into ring, repeat from * twice more, 2ch, join with slip stitch to 3rd chain of first 3 chain.
Fasten off yarn.
Round 2:
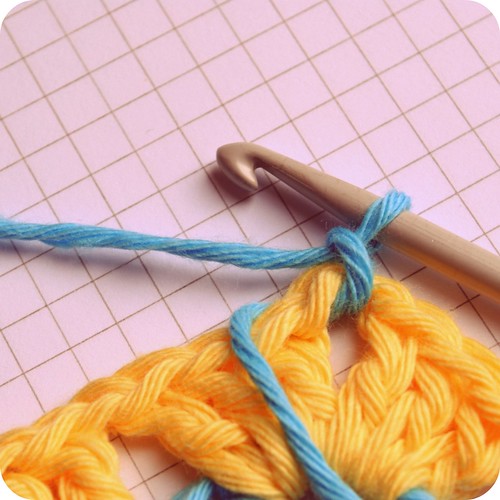
Join new yarn at any 2 chain corner space, 3ch, 2tr,2ch,3tr in same 2 chain corner space, *1ch, 3tr, 2ch, 3tr in to next 2 chain space, repeat from * twice more, 1ch, join with slip stitch to 3rd chain of first 3 chain.
Fasten off yarn.
Round 3:
Join new yarn at any 2 chain corner space, 3 ch, 2tr, 2ch, 3tr in same 2 chain corner space *1 ch, 3tr into next one chain space, 1ch, 3tr, 2ch, 3tr in to next 2 chain space, repeat from * twice more, 1 ch, 3tr into next one chain space, 1ch, join with slip stitch to 3rd chain of first 3 chain.
Fasten off yarn.
Round 4:
Join new yarn at any 2 chain corner space, 3 ch, 2tr, 2ch, 3tr in same 2 chain corner space *1 ch, 3tr into next 1 chain space, 1 ch, 3tr into next 1 chain space 1ch, 3tr, 2ch, 3tr in to next 2 chain space, repeat from * twice more, 1 ch, 3tr into next 1 chain space, 1ch, 3tr into next 1 chain space 1ch, join with slip stitch to 3rd chain of first 3 chain.
Fasten off yarn.
Round 5:
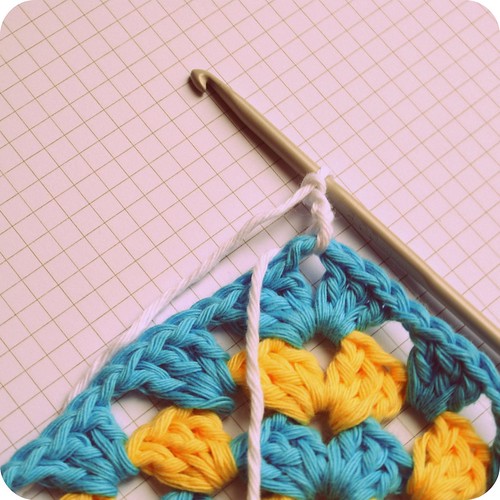
Join white yarn at any 2 chain corner space, 3 ch, 2tr, 2ch, 3tr in same 2 chain corner space *1ch, 3tr into next 3, 1 chain spaces, 1ch, 3tr, 2ch, 3tr in to next 2 chain space, repeat from * twice more, 1 ch, 3tr into next 3, 1 chain spaces, 1ch, join with slip stitch to 3rd chain of first 3 chain.
Fasten off yarn.
Fasten off yarn.
Joining the Squares ::
using the white yarn, join to the corner of two squares, 1chain, 1dc in to the top of each stitch of both squares, joining them together as you go, when you reach the end of the side, break off yarn.
Join another to the opposite end of one of these two in the same way as above, continue to do this until you have a strip of 4 squares. Then do the same again, so you have 2 strips of 4 squares.
Weave in any loose ends.
Join these two strips together using double crochet again in the same way as above, but joining all the squares together so you have a block of 8 squares in a 2 x 4 formation. Join this block together down the side, using double crochet again, to form a circle.
Weave in any loose ends.
Labels:
cowl,
crochet,
crochet pattern,
granny square,
how to,
tutorial
Wednesday, 19 October 2011
Granny Cowl ::
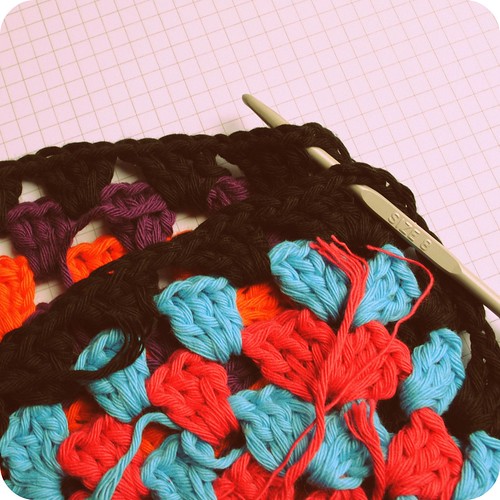
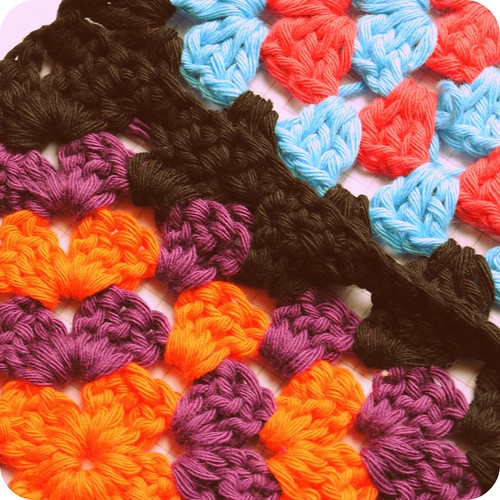
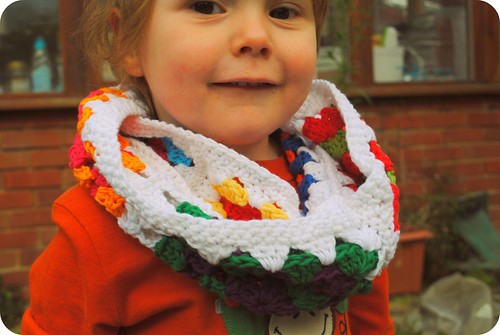
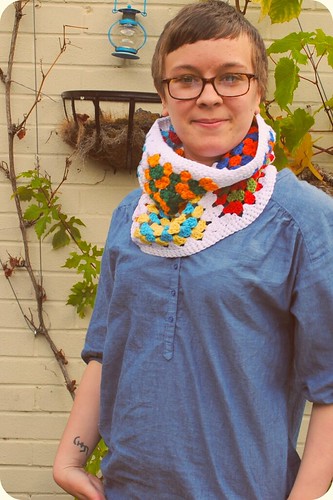
I actually made this cowl a while ago now, but have finally got round to taking some photos of it! I also had the privilege of taking some studio photos for stuffed nonsense over the weekend, which I used as opportunity to grab myself a model in the shape of the glamourous Bex ( though as you'll see I also had myself a slightly smaller model too).
Inspired by the House of Holland's amazing granny scarfs in the autumn/winter 2011 collection, I made this along with a big scarf and some similar versions in black trim.
The pattern is now available here, plus when I get round to it I shall also be adding some to my lilley stitches shop.
Saturday, 8 October 2011
finding inspiration :: on the catwalk ::
I know I'm a bit slow at posting this, but there was some amazing knitwear and crochet on the catwalks at London Fashion Week last month. Here are a few of my favourites.
Meadham Kirchhoff
Source: londonfashionweek.co.uk via VickiBrown on Pinterest
Mark Fast
Source: dailymail.co.uk via VickiBrown on Pinterest
House of Holland
Source: londonfashionweek.co.uk via VickiBrown on Pinterest
Cooperative Designs
Source: londonfashionweek.co.uk via VickiBrown on Pinterest
Thursday, 22 September 2011
on our holidays ::
We've actually been back over a week now, but catching up on what you missed whilst you were on holiday always seems to make the holiday itself a little pointless! However we finally seem to be getting back in to our old routine and on top of all that work we didn't do whilst we were up in North Norfolk.
Here's a fairly picture heavy tale of what we got up to whilst we were away ::
Subscribe to:
Posts (Atom)