

I have experience of these kind of elaborate children's birthday cakes, but only really in the receiving and eating of. My mum was a great birthday cake supplier (highlights of mine include a grand princess pony castle, cinderella complete with pumpkin carriage and sugar mice and winnie the pooh and honey pot) and my sister has continued this tradition with her own 3 children (highlights created by her include iggle piggle with blanket, peppa pig and a giant cupcake). I often receive running commentary and photographic evidence of my sister's successes late in to the night before a big event, but as with most things it wasn't until I attempted it myself did I realise quite how much work was involved in creating such masterpieces.
Don't get me wrong, I knew it wouldn't be easy and really I had hoped it would be something I wouldn't need to do for a few years yet, but Milo had different ideas (damn pinterest and Milo's overshoulder watching of it!), but I've watched Cake Boss, I hunted out a few youtube instructional videos, spent a fortune in hobbycraft, took a deep breath and begun.
For anyone interested in creating one yourself (though I promise you I'm not sure it's worth all the stress, panic, heartache, sweat and tears) here is a little overview of what I did.
I couldn't find a rectangular tin (well not one that wasn't horrifically expensive anyway) so I purchased a square tin, made a huge batch of Pam Corbin's victoria sponge mix and made two square cakes. Once they had cooled I cut one in half, sandwiched on to the other with butter icing, I then covered the whole thing with butter icing. Johnny was initially responsible for the bricks on top of the cake and decided to use rice krispie squares instead of cake for these, which I too covered in butter icing. As it happened Johnny, on out celebrating a friends birthday, the night before 'project birthday cake' broke his thumb falling off a stationary bike, therefore he spent the whole evening watching over my shoulder with unhelpful insights, unable to do any of the actual cake making/decorating.
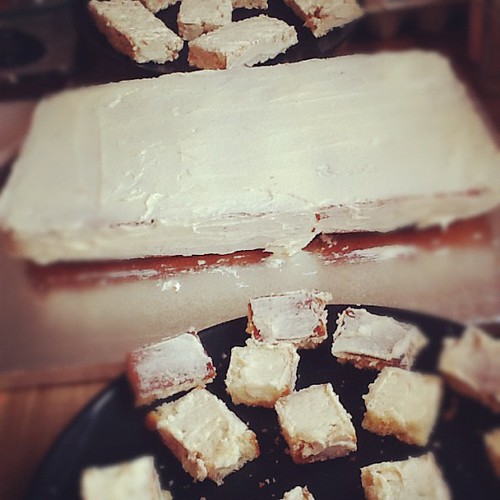
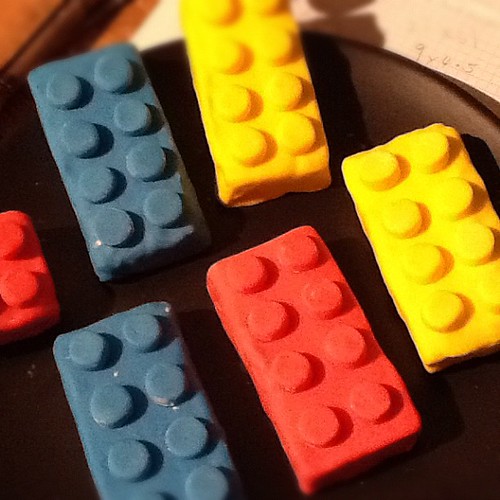
For the fondant icing, I bought one green packet and one white packet, I then coloured three lots of the white with red, blue and yellow. If I was to do this again, I would certainly purchase all the colours, it was so time consuming mixing the colours and I couldn't get them quite as bright as I had hoped. I covered the cake with the green and the rice krispie bricks with the other colours, using a small round cutter to make the little nubs on top, attaching with a little apricot jam.
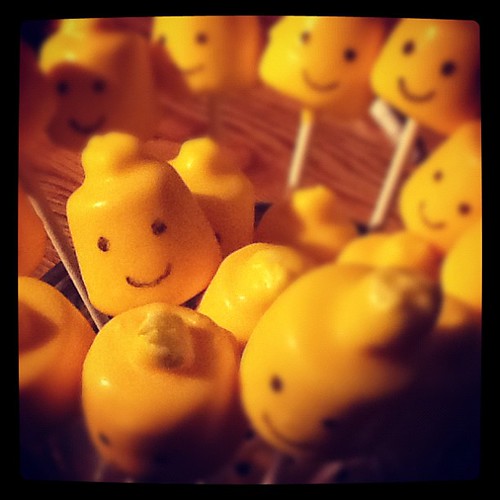
I got the idea for the lego heads from here, using marshmallows, dipped in yellow candy melts. I used a special food colouring pen for the faces, but I wouldn't do this again as the pen did not like going on the candy melts, I imagine black food colouring and a paintbrush would have been a better idea.
A friend leant us a lego mould which we used for the little chocolate blocks, so that was nice and easy!
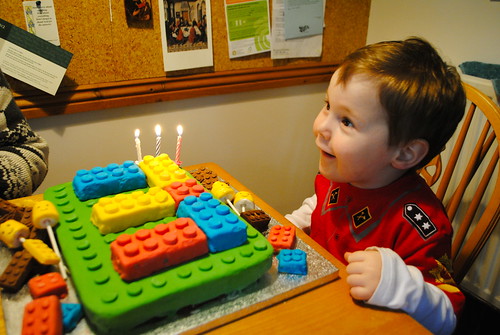
So there we go, this was actually the very first birthday cake I made for Milo, as his first was shop bought and his second made by Johnny, not too bad for a first attempt, Milo loved it and we shall be eating cake for at least a week!
and the smile on his face makes it all worth it! Arthur was very impressed with your lego head lolly pops.
ReplyDeleteThat is a seriously awesome cake! I'm going to have to try to make a lego cake in a few months. Yours turned out amazing.
ReplyDeleteI followed over from Soulemama, so glad I did. I love your virtual space here. And can I just say, my first cake didn't look nearly as good! Nor my 20th cake. You've got some serious skills!
ReplyDeleteand goodness, that smile on his face is absolutely adorable.
The cake turned out to be fabulous! Well done you, Milo is very lucky to have such a talented Mummy! :) xxx
ReplyDelete