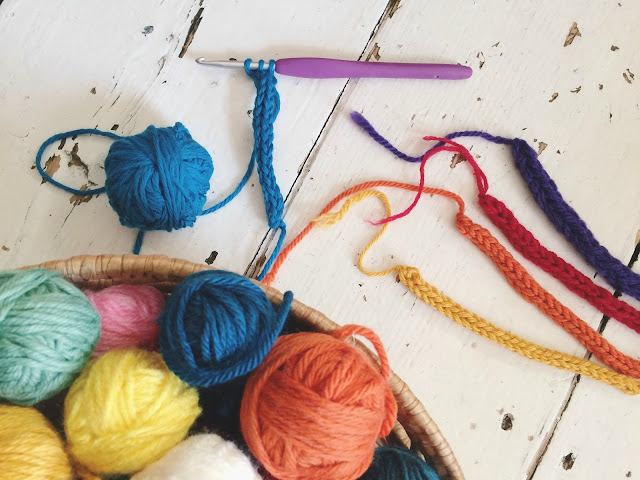
I have a little jewellery making tutorial coming up that requires the use of some crochet I-Cord (though you can totally use knitted I-Cord too if you'd rather). So I figured before sharing that with you I'll give you a little tutorial on how to make the I-Cord itself first.
I-Cord is really very, very simple to make, both with knitting and crochet and is simply a lovely little tube of stitches, ideal for adding to all kinds of projects, or can even be knit/crocheted with itself.
Crochet i-cord is essentially exactly the same as knitted i-cord the way I make it, but if you're not comfortable with knitting or just find crochet easier on the whole, this is a great technique. I haven't yet timed myself, but I'm also fairly confident this way is much quicker for me.
All you need is some yarn and a crochet hook in a size best suited to your yarn. I've made a video which gives you a step by step guide, but if you'd rather words and pictures I have those for you too, just keep scrolling.
Method ::
1. Make a slip knot with your yarn and chain 3
2. Insert hook in to 2nd chain from hook, yarn around hook, draw through. You now have 2 loops on your hook.
3. Insert hook in to next chain, yarn around hook, draw through. You now have 3 loops on your hook.
4. Carefully remove the last 2 loops, leaving them hanging in mid air and being careful not to 'drop' them. You now have 1 loop on your hook.
5. Yarn around hook, draw through loop. You may want to use your yarn holding hand to pinch hold of the last loose loop to help prevent you losing it.
6. Put the next loop back on your hook, yarn around hook, draw through. You now have 2 loops on your hook.


Thank you for posting such an honest video! You show that the first few rounds are a bit fiddly, which is usually the case, but new crochets sometimes think it's just them being clueless. By the way, I made a faux chain to hang a pot plant by using dollar store rope and a simple stitch the Harmony Guide to Crochet Stitches calls a double chain stitch. It's very easy to do, but I had to look at the drawings in the book to get the idea, so I won't try to explain it. I think it's probably less flexible than your i-cord, but you might check it out. Regards, Kate
ReplyDelete