In need of inspiration for a last minute Father’s Day gift, that’s personal and will be cherished? Why not try your hand at embroidering your children’s drawings or writing onto a gym towel? Find a towel that has some nice thick panels along the edges that aren't fluffy, to provide a flat space for your embroidery. I've used this same technique to personalise hankies which would also make a great Father's Day gift.

Ingredients ::

Ingredients ::
- A towel, with nice thick panels
- Embroidery floss
- Embroidery needle
- Scissors
- Dressmakers carbon paper
- Embroidery hoop
Method::
First up, measure the panel on your towel. Mark out on a piece of paper this measurement to ensure your child(ren) don’t write or draw too large for the space you have available. For example, the panel on my towel measured 2.5cm high. As it was much longer than an A4 piece of paper I didn’t worry too much about the length, but I did draw two lines 2.5cm apart and asked my little boy to try to keep his writing within these lines. Milo, much more of the practical than creative sort, decided he’d much rather do some writing than drawing, so that’s what we went with!

When your child has finished, cut out the paper along the lines you drew, so it fits into your panel. Place your carbon paper dark side down on to the towel, with the drawing on top, over where you would like your embroidery to go. Carefully draw over the lines of your child’s drawing/writing with a pencil, pressing down just enough for the carbon to mark your towel.


Put the embroidery hoop over your area to embroider, making the fabric nice and taut like the skin of a drum.

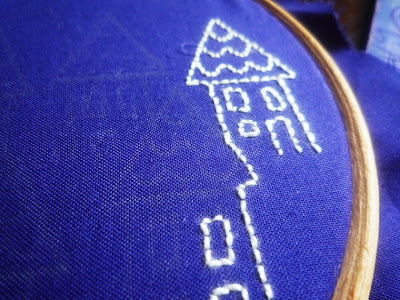
Now it’s time to get stitching. Choose your colour and cut a length of thread about the length of your arm, any longer and you’re likely to get yourself in a tangle. If you’re using traditional 6 strand embroidery thread, you’ll probably want to half the strands so you’re only using 3 for your stitching, otherwise it can tend to be a little too thick. Thread your needle and begin, very simply all you need to do is sew over the lines you’ve just put on the towel using backstitching. To backstitch, make a simple straight stitch, any length you like, I usually do mine around 5mm, continue along your drawn line, but bring your needle up a little bit ahead (around the same space away as your original stitch was) and bring your needle back down in the same place as the end of your last stitch, repeat the last 2 steps all the way along your lines, changing colours as you like.
When you've finished all your stitching, wash to remove any leftover carbon lines and wrap ready for gifting.


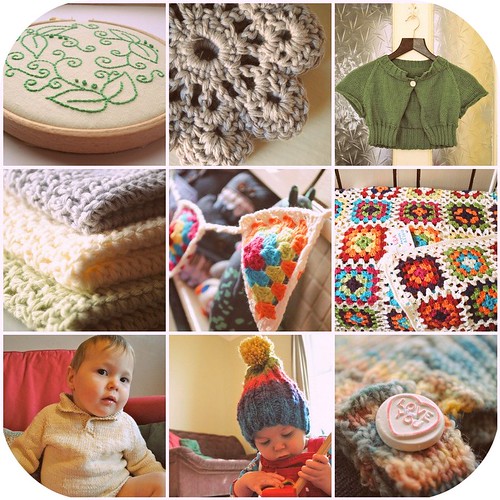

 I have to admit I've completely lost track of where I am with crafting 365 now! I've still got a few days to put up a few things to photograph...but I've also lost ALOT of days!!



 I spent most of my teenage years by the sea, and since all of my grown-up life has been lived so far away from it I miss it terribly.


 I'm off into the lovely sunshine to make my way to the hospital for my last scan....that means the last time I see the baby until he is really here in the flesh!!