ingredients ::
I used ::
rico cotton essentials DK
1 x 50g ball white
1 x 50g ball green
1 x 50g ball banana
1 x 50g ball purple
1 x 50g ball tangerine
1 x 50g ball grass green
1 x 50g ball red
1 x 50g ball light teal
1 x 50g ball orange
1 x 50g ball fuschia
1 x 50g ball navy
any double knit cotton (or indeed any other type of yarn) in various colours would work too.
4 mm crochet hook
Abbreviations ::
ch - chain
ss - slip stitch
dc - double crochet
tr - treble
method ::
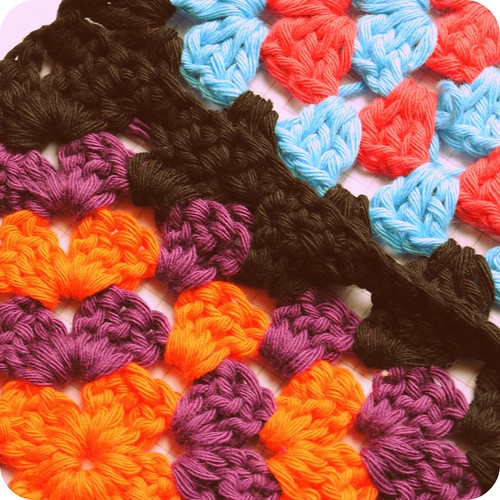
Make 8 granny squares in different colour ways.
The colour combinations I made were :
orange/navy
grass green/red
green/purple
red/yellow
fuschia/light teal
fuschia/tangerine
light teal/banana
green/tangerine
each with a white edge.
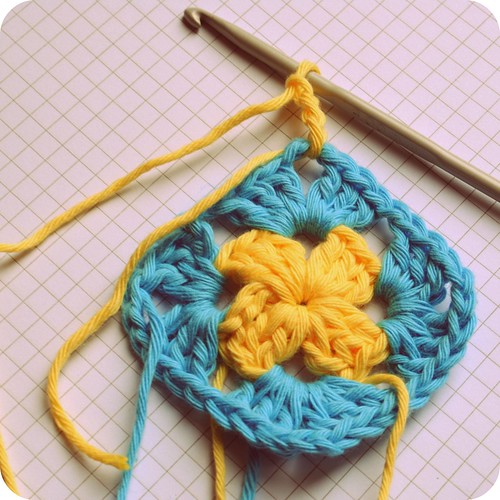
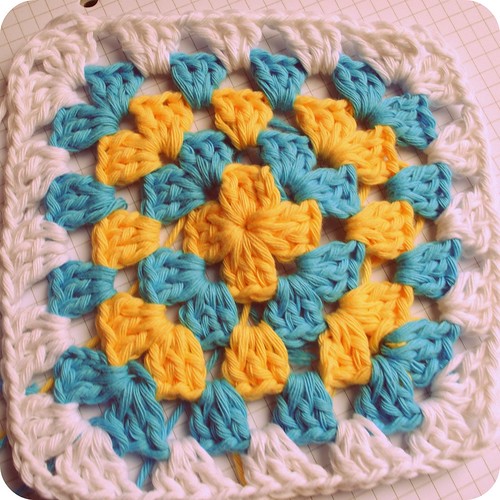
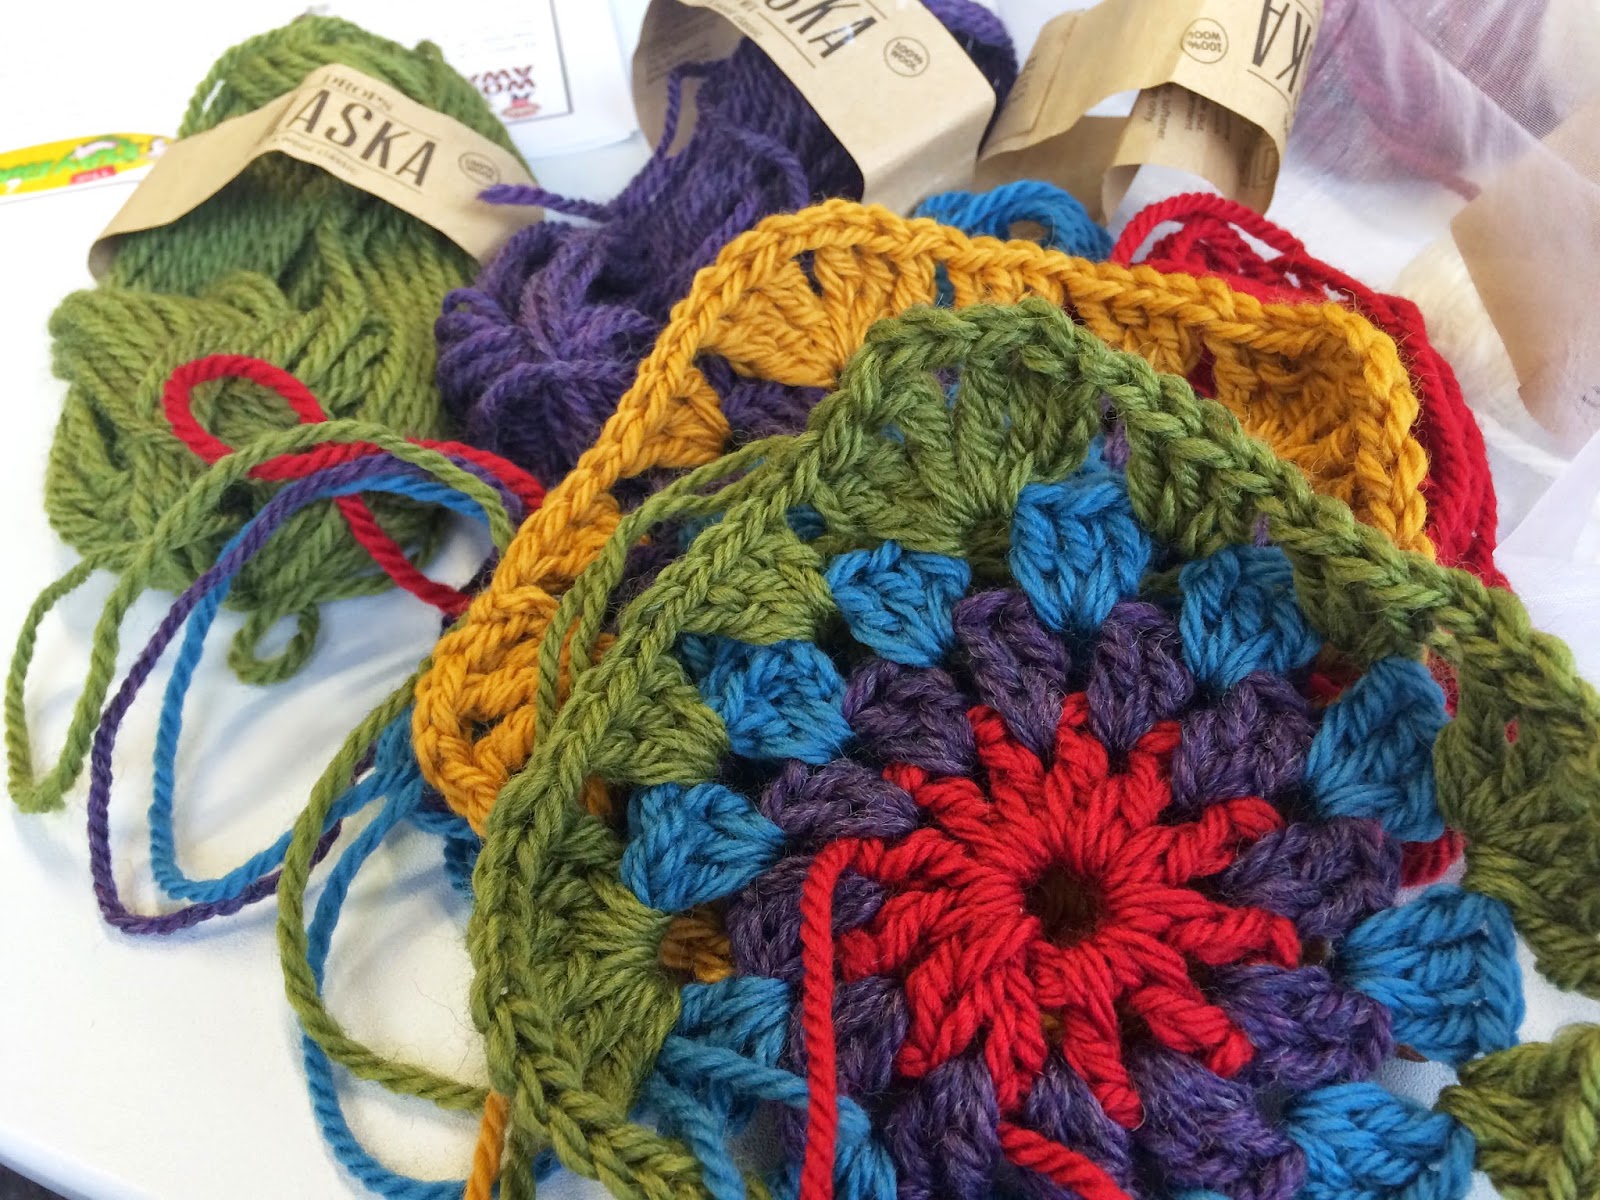
to make a granny square ::
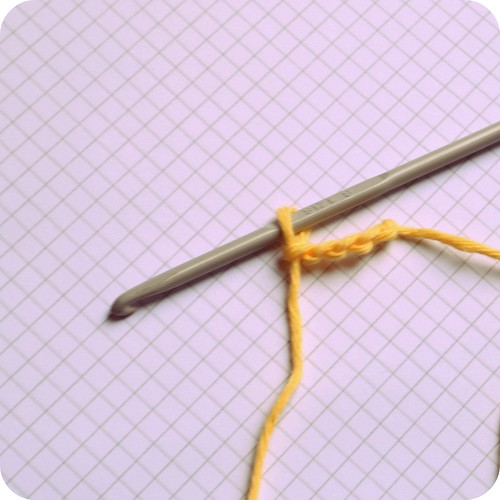
Leave a long end, make 4 chain and join to first chain with slip stitch.
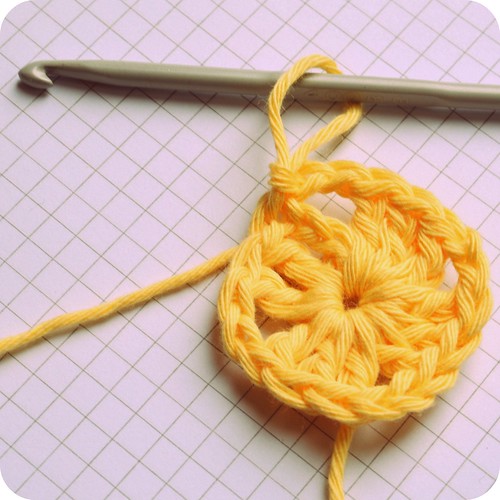
Round 1:
3ch, 2tr in to ring *2ch, 3tr into ring, repeat from * twice more, 2ch, join with slip stitch to 3rd chain of first 3 chain.
Fasten off yarn.
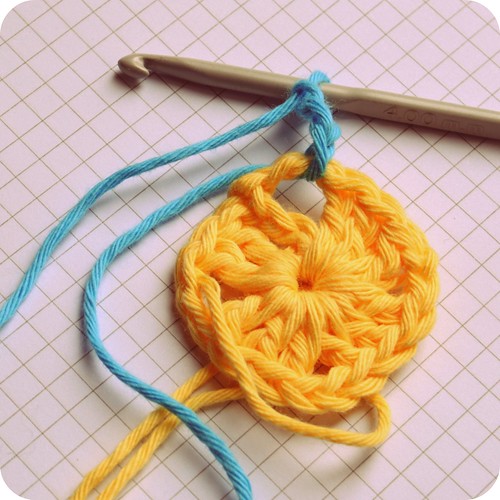
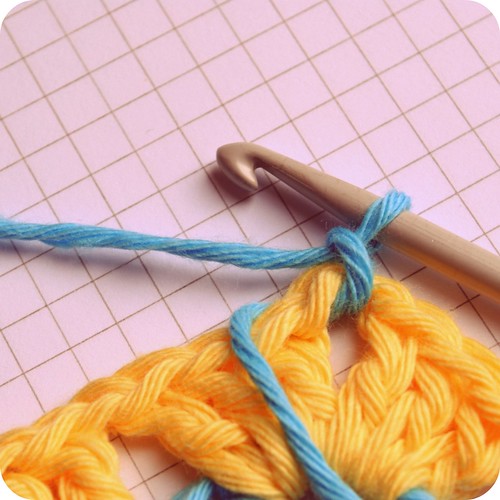
Round 2:
Join new yarn at any 2 chain corner space, 3ch, 2tr,2ch,3tr in same 2 chain corner space, *1ch, 3tr, 2ch, 3tr in to next 2 chain space, repeat from * twice more, 1ch, join with slip stitch to 3rd chain of first 3 chain.
Fasten off yarn.
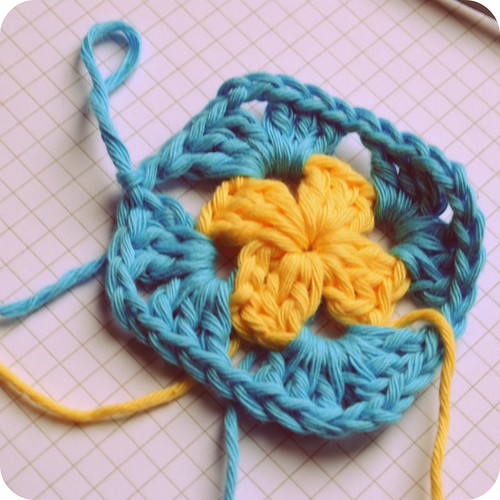
Round 3:
Join new yarn at any 2 chain corner space, 3 ch, 2tr, 2ch, 3tr in same 2 chain corner space *1 ch, 3tr into next one chain space, 1ch, 3tr, 2ch, 3tr in to next 2 chain space, repeat from * twice more, 1 ch, 3tr into next one chain space, 1ch, join with slip stitch to 3rd chain of first 3 chain.
Fasten off yarn.
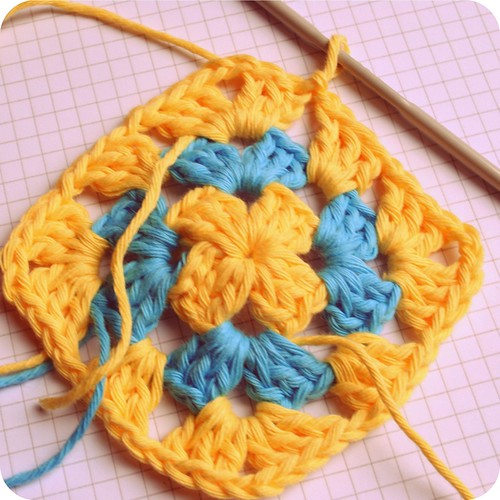
Round 4:
Join new yarn at any 2 chain corner space, 3 ch, 2tr, 2ch, 3tr in same 2 chain corner space *1 ch, 3tr into next 1 chain space, 1 ch, 3tr into next 1 chain space 1ch, 3tr, 2ch, 3tr in to next 2 chain space, repeat from * twice more, 1 ch, 3tr into next 1 chain space, 1ch, 3tr into next 1 chain space 1ch, join with slip stitch to 3rd chain of first 3 chain.
Fasten off yarn.
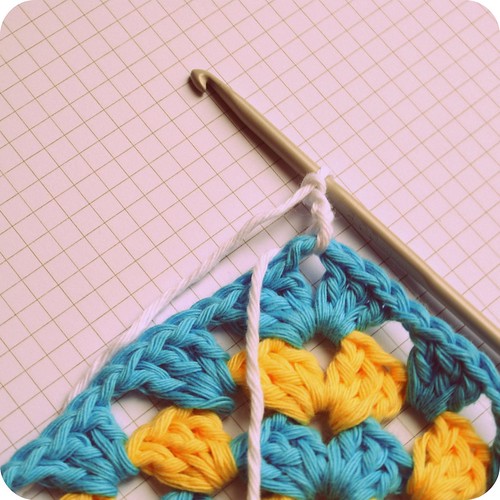
Round 5:
Join white yarn at any 2 chain corner space, 3 ch, 2tr, 2ch, 3tr in same 2 chain corner space *1ch, 3tr into next 3, 1 chain spaces, 1ch, 3tr, 2ch, 3tr in to next 2 chain space, repeat from * twice more, 1 ch, 3tr into next 3, 1 chain spaces, 1ch, join with slip stitch to 3rd chain of first 3 chain.
Fasten off yarn.
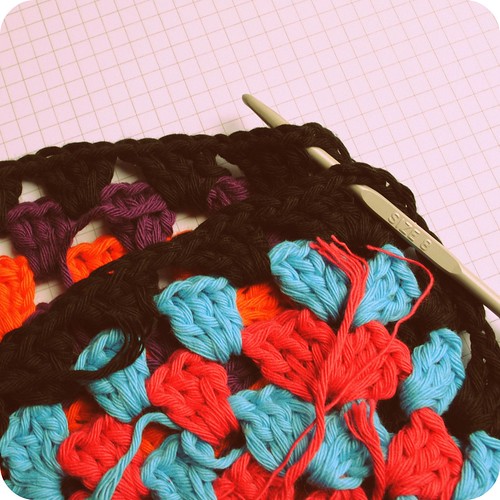
Joining the Squares ::
using the white yarn, join to the corner of two squares, 1chain, 1dc in to the top of each stitch of both squares, joining them together as you go, when you reach the end of the side, break off yarn.
Join another to the opposite end of one of these two in the same way as above, continue to do this until you have a strip of 4 squares. Then do the same again, so you have 2 strips of 4 squares.
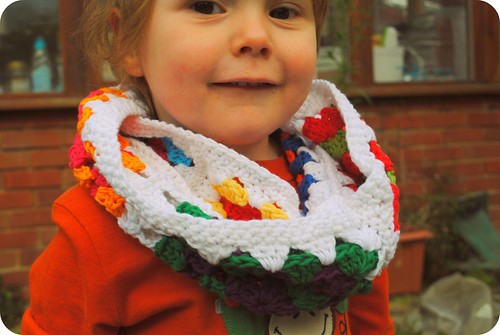
Join these two strips together using double crochet again in the same way as above, but joining all the squares together so you have a block of 8 squares in a 2 x 4 formation. Join this block together down the side, using double crochet again, to form a circle.
Weave in any loose ends.


.jpg)


.jpg)