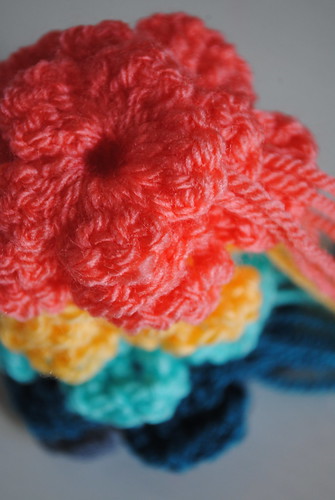
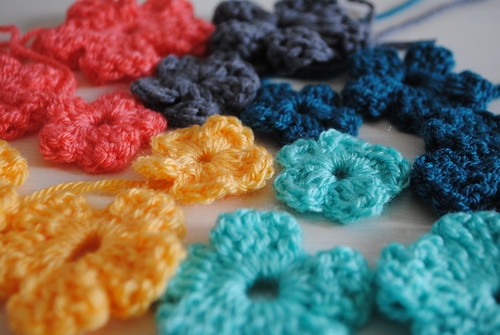
I've been whipping up loads of these little rings over the past couple of weeks. They are the perfect little craft for me right now, quick, simple and full of colour!
Wednesday, 11 February 2015
Little Crochet Rings :: A Pattern ::
I've been whipping up loads of these little rings over the past couple of weeks. They are the perfect little craft for me right now, quick, simple and full of colour!
Friday, 14 November 2014
Sling Cowl :: A Crochet Pattern ::
One thing I definitely don't really need is more neckwear. I have a bit of scarf/shawl problem, I just love knitting/crocheting these garments and I do put them all to good use. However I've discovered since the temperature dropped, that scarves and baby slings do not make for great companions. I'm always worried about the tails getting in Effie's face and they just don't sit quite right with the sling in place.
When we pulled all the knitwear out of storage last week, I noticed the snood I knit for Johnny a couple of years ago and realised that was exactly what I needed. Something that fits perfectly around my neck, without any ends to get in the way and sits high enough to be well out of Effie's face. As knitting isn't really working for me at the moment, for whatever reasons, I decided to crochet my version.
I thought I'd share this simple little pattern with you here. It's quick, easy, unisex and would make a great Christmas gift too.
Wednesday, 16 July 2014
Crochet Lego Head :: A Pattern ::
It's really very simple and if you've tried your hand at amigurumi before I'm sure you'll have no problems with this. If you haven't here a few notes to help you on your way.
- The whole head is made in one piece, working in continuous rounds of double crochet (UK), meaning you don't join or chain at the beginning of each round, you just carry on in to the next stitch.
- You start at the bottom and work up to the top, increasing and decreasing at various points to create the shaping.
- You start your project using the magic loop technique. This gives you a nice tight first round with hardly any gap in your starting ring, this is especially important for amigurumi as you want your work as tight and as free from holes as possible. There is a really handy tutorial for magic loop over on craftsy here.
- You need to use a marker to keep track of the beginning of your round, I find a scrap of yarn much, much easier to use than an actual stitch marker. I have a tutorial on how to do this here.
- There is much talk about the right side and the wrong side of your work, I say as for most crafty endeavours, there is no right or wrong, go with what looks/feels best for you. I know some folks prefer to work through the back loop only of each stitch too. I take the side that faces me as I work to be the right side and work through the whole stitch, but like I said, do whatever works best for you.
- I recommend you go at least a hook size smaller than your yarn ball suggests, this helps to get a nice tight fabric.
- You can use whatever kind of yarn weight or content you like for this project, obviously the chunkier the yarn the bigger the head, for my bigger version I used aran weight yarn held double and for the smaller head I used a fingering/4ply weight yarn. The smaller head measures 5cm tall and 5cm wide.
Thursday, 15 May 2014
Crochet Granny Bunting :: A Pattern ::
Many moons ago I wrote my first ever crochet pattern, a series of simple crochet triangles strung together to create some bunting. The original bunting still hangs in my garden, looking much more 'antique' than it did back then, in all it's faded glory, but I still love it and admire it everytime I head outside. We're currently having a bit of shuffle about in our house, swapping rooms around, freshening things up and doing a little redecorating. As I headed out the door to Craft Night on Wednesday with literally nothing on my knitting needles to take along, I grabbed a handful of blue yarns and decided to whip up a string of bunting for Milo's new bedroom makeover. At that moment he was adamant he wanted a blue bedroom, though this has since changed, of course.
This pattern is so quick and simple, I made the entire length of bunting here over the space of 2.5 hours whilst chatting with friends and consuming cake.
If you fancy having a go at making your own version you can head on over to the original post to see the pattern. For this version I made each triangle in a single colour, but I was so undecided! I really love the original with lots of different colours, maybe I could make some more for the baby, before she can dictate colour choices for me!
Thursday, 3 January 2013
Jesamine Necklaces ::
Click on over to get the pattern written in both US and UK crochet terms and whip up some lovely statement pieces for you or a friend.

Notes from the pattern ::
Friday, 6 April 2012
FO Friday :: Little Flowers ::
Thursday, 27 January 2011
crochet jar cover ::
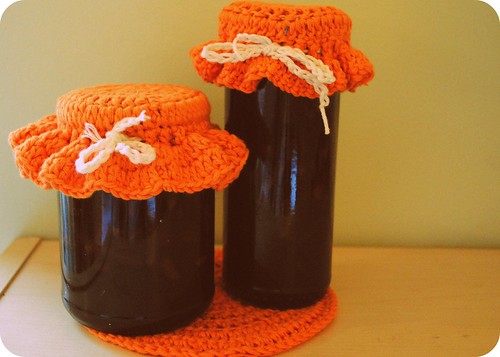
A couple of weeks ago I had my first attempt at making marmalade, for a first attempt it came out pretty well, but I made a huge quantity and well as my mr hates the stuff, and try as we might it seemed unlikely that Milo and I would manage the whole 7 jars we have, I figured most of them would become gifts. Of course in order for this to happen those assorted, recycled, jars would need a little bit of prettifying.
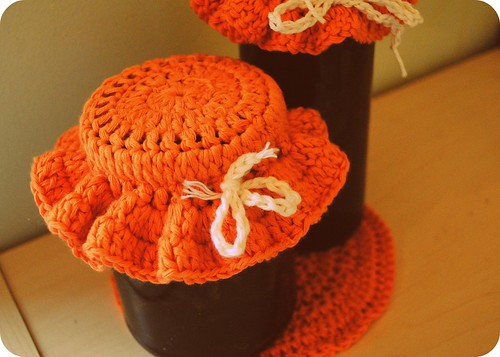
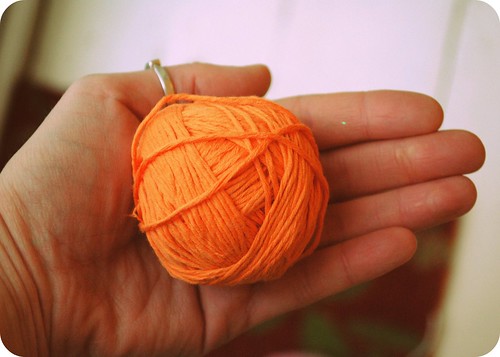
I considered making some hapa-zome tops for them like I made for my jam last summer, or maybe embroidering some covers for them. But then I remembered all the lovely orange milk cotton I had stashed away and decided crochet jar covers was the only way to go.
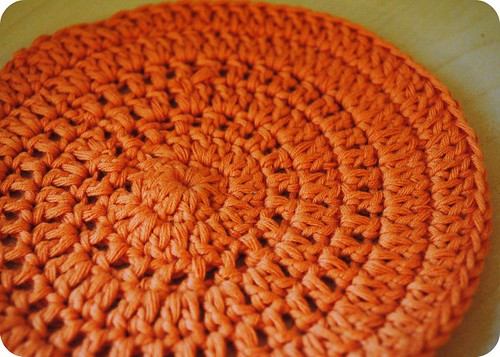
These are also a great idea because the crochet circles can become coasters of washcloths once the marmalade is in use.
If you fancy having a go at making some little hats for you own marmalade/jam jars then you are in luck because I have written out my pattern for you here!
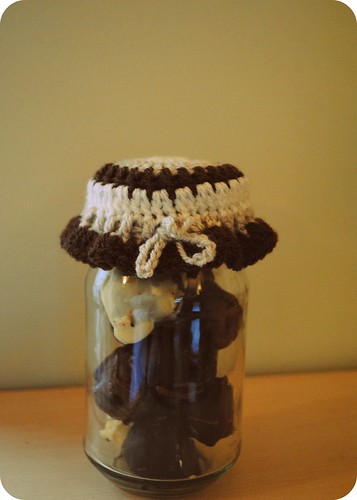
I also made up one up in browns for a jar of chocolates I made for my Mum's birthday.
crochet jar cover :: a pattern ::
Please note this pattern is written here in english crochet terms, which differ from american crochet terms, there is a fabulous table here which gives translations of all the stitches I've used.
ingredients ::
1 x ball of double knit weight yarn
(I used rowan milk cotton in fruit salad, simply because I have lots in my stash!)
small quantity of contrasting yarn for tie
(I used rowan milk cotton in snow)
4mm crochet hook
Abbreviations ::
ch - chain
ss - slip stitch
tr - treble
method ::
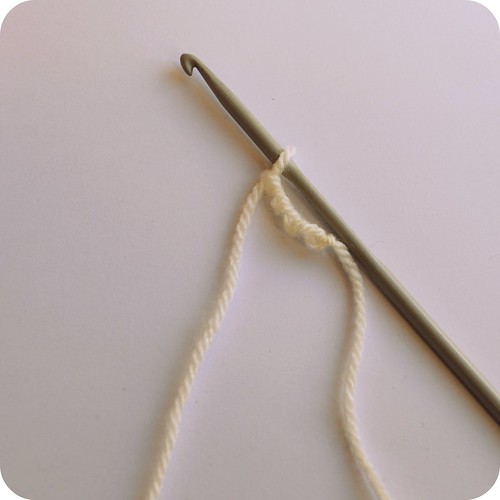
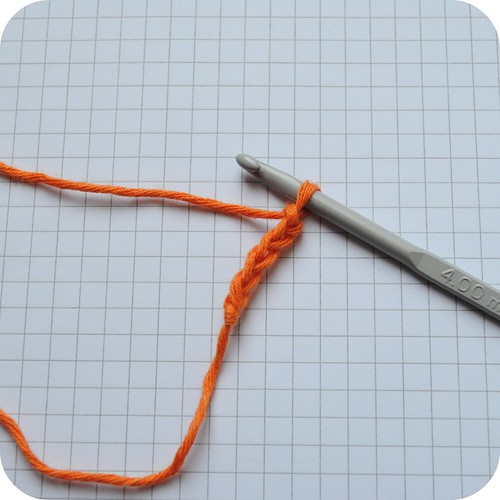
chain 5 join with ss
round 1 ::
ch3 (counts as first treble) work 12 tr in to ring, join to top of first treble with ss

round 2 ::
ch3 (counts as first treble) 1 tr into same space as first treble, 2 tr in to top of each treble from previous round (26 stitches), join to top of first treble with ss
round 3 ::
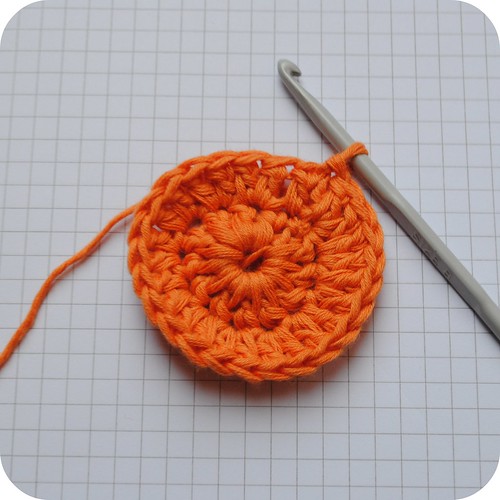
ch 3 (counts as first treble) 1 tr in to top of each treble from previous round (26 stitches), join to top of first treble with ss
round 4 ::
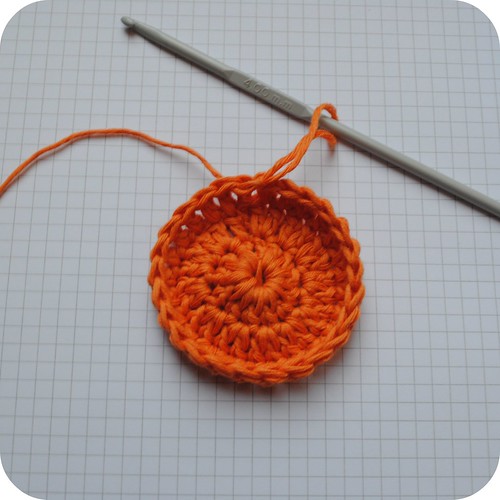
ch3 (counts as first treble) 1 tr into same space as first treble, 2 tr in to top of each treble from previous round (52 stitches), join to top of first treble with ss
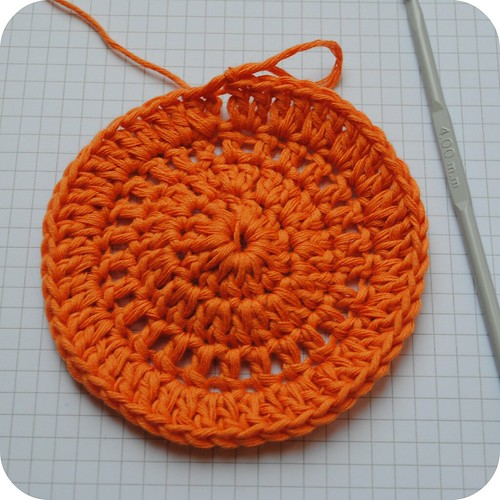
round 5 ::
ch 3 (counts as first treble) 1 tr in to top of each treble from previous round (52 stitches), join to top of first treble with ss
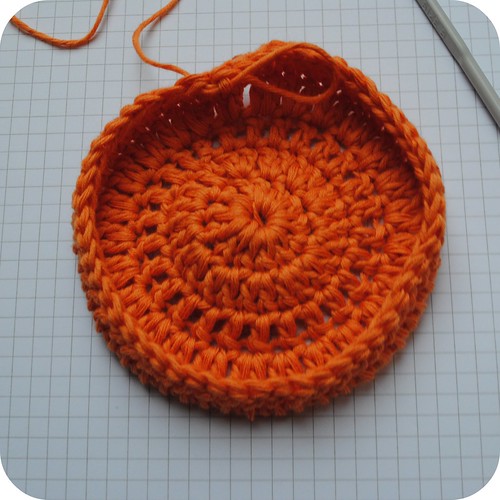
round 6 ::
ch3 (counts as first treble) 1 tr into same space as first treble, 2 tr in to top of each treble from previous round (104 stitches), join to top of first treble with ss
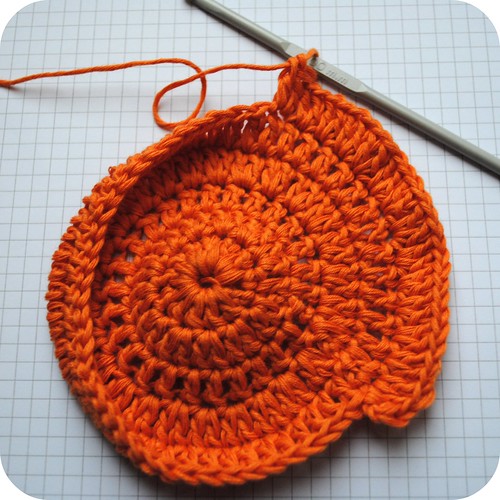
fasten off
weave in loose ends.
for the tie ::
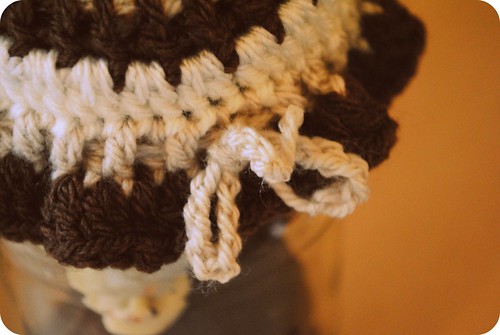
with contrasting yarn, chain 100, fasten off.
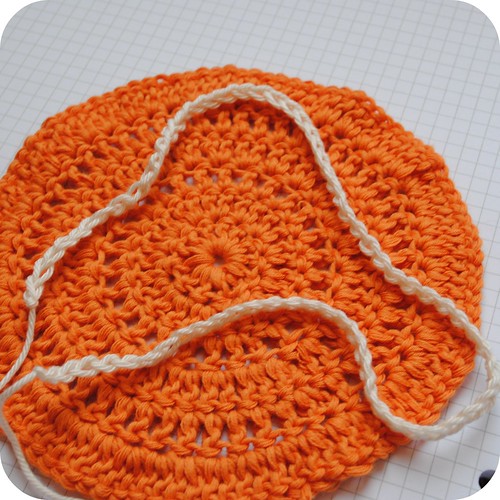
weave tie through the spaces on round 5 of the cover.
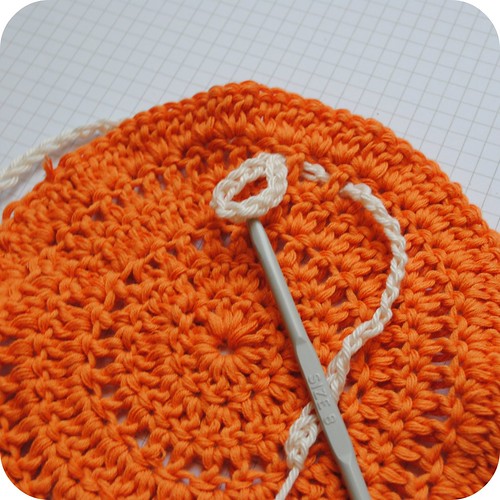
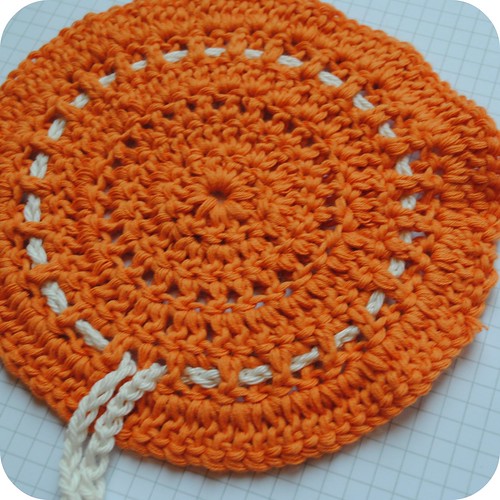
This pattern will make a circle around 5 inches in diameter, which fit all of my jar lids. However you can of course make yours bigger, just keep repeating the last two rounds until you reach your desired size.
Tuesday, 18 January 2011
heart granny square ::
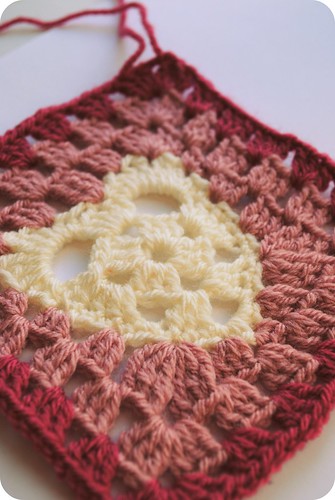
With valentines on my mind the last few weeks, I have been working on lots of hearts. After searching about a bit, I couldn't see any granny squares which incorporated a heart that I liked. After a few failed attempts and a bit of patience, I came up with my own.
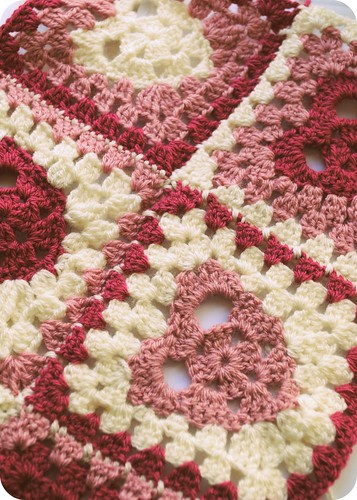
I have been working lots of these lovey squares in order to make a cushion, which I hope to share with you soon, but whilst I continue to work away on that, I thought I would share with you the pattern for the granny square alone.
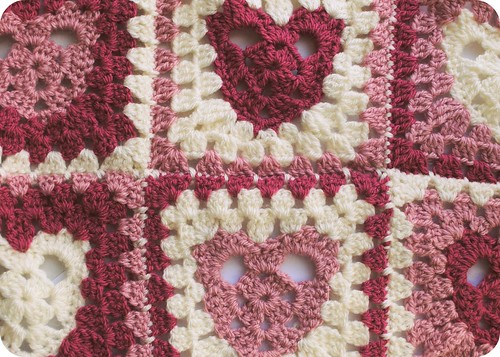
This is only the second pattern/tutorial for crochet (the other being my granny bunting) that I have ever shared, so if you do have a go at making some for yourself, I would love to hear any feedback you may have.
The pattern in all it's glory is here, have fun! xx
heart granny square :: a pattern ::
Please note this pattern is written here in english crochet terms, which differ from american crochet terms, there is a fabulous table here which gives translations of all the stitches I've use here.
ingredients ::
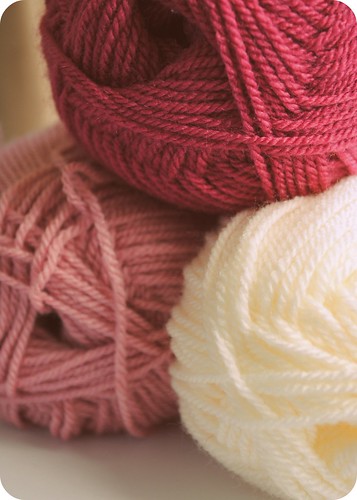
3 x contrasting balls of double knit weight yarn.
I used stylecraft special double knit 100% acrylic in cream (A) pale rose (B) and raspberry (C)
4 mm crochet hook
Abbreviations ::
ch - chain
ss - slip stitch
dc - double crochet
htr - half treble
tr - treble
dtr - double treble
method ::
using yarn A chain 4 join with ss
chain 3 (counts as first treble) 2 tr in to middle of ring, *2ch 3 tr, repeat from * a further 2 times, 2 chain, join to top of first chain with a ss.
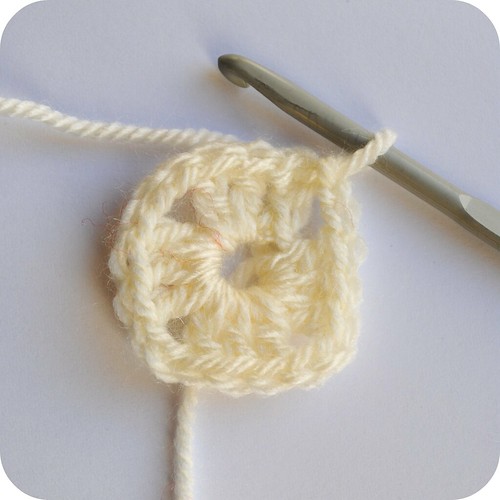
round 2 ::
ss across 2 trebles and ss in to next 2 chain space, chain 3, counts as first treble, 4 tr in to 2 chain space, 1 ch, 3 tr 2ch 3tr in to next 2 chain space (this will be the bottom tip of the heart), 1 ch, 5 tr in to next 2 chain space, 4 ch, 5 tr in to next 3 chain space, 4 chain, join to top of first treble with ss.
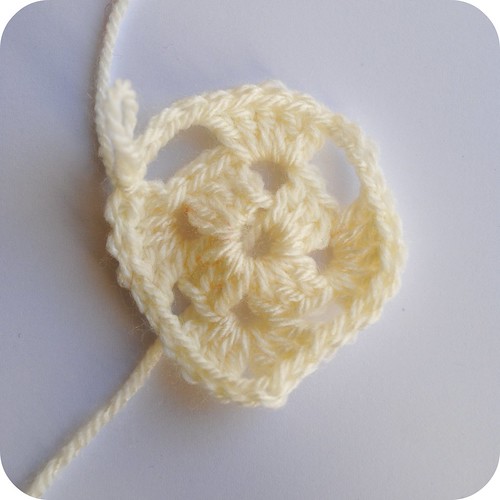
round 3 ::
chain 1, dc in top of next 4 trebles, dc in to 1 chain space, dc in top of next 3 trebles, 3dc 2ch 3dc in to 2 chain space (this is the bottom tip of the heart) dc in top of next 3 trebles, dc in 1 chain space, dc in top of next 5 trebles, 2 htr 2 tr 2 dtr 2 tr 2 htr in next 4 chain space, ss in top of third treble, 2 htr 2 tr 2 dtr 2 tr 2 htr in next 4 chain space, join to first double with ss.
Fasten off.
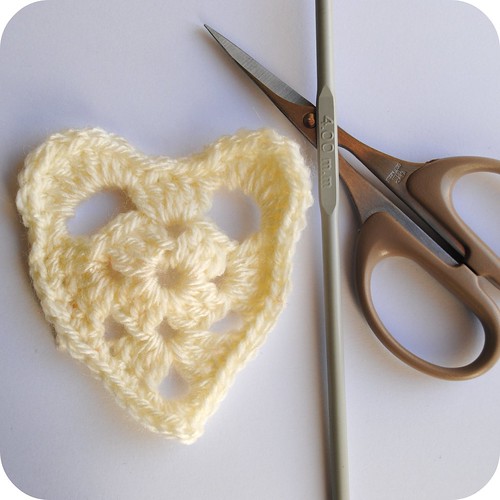
round 4 ::
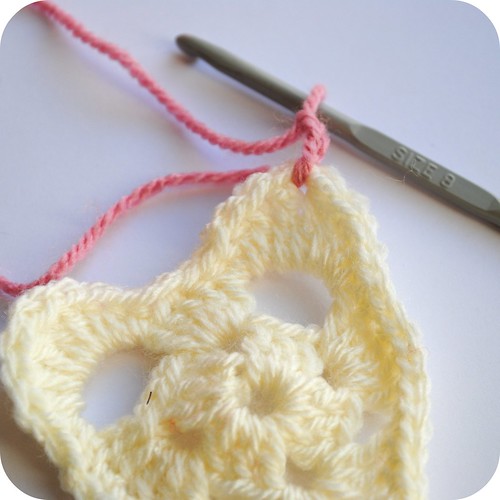
join yarn B between the 2 double trebles at top right of heart, chain 3 (counts as first treble) 2tr 2ch 3tr in to space between 2 double trebles, 1ch, 3tr in to third space along, 1ch, 3dtr in to third space along, 1ch, 3tr in to third space along, 1ch, 3tr 2ch 3tr in to space between 2dtr from previous round, 1ch, 3dc in to third space along, 1ch, 3htr in to third space along, 1ch, 3tr in to third space along, 1ch, 3dtr 2ch 3dtr in to third space along, 1ch, 3tr in to third space along, 1ch, 3dc in to 2 chain space at bottom of heart, 1ch, 3tr in to third space along, 1ch, 3dtr 2ch 3dtr in to third space along, 1ch, 3tr in to third space along, 1ch, 3htr in to third space along, 1ch, 3dc in to third chain along, 1ch, join with ss to first treble.
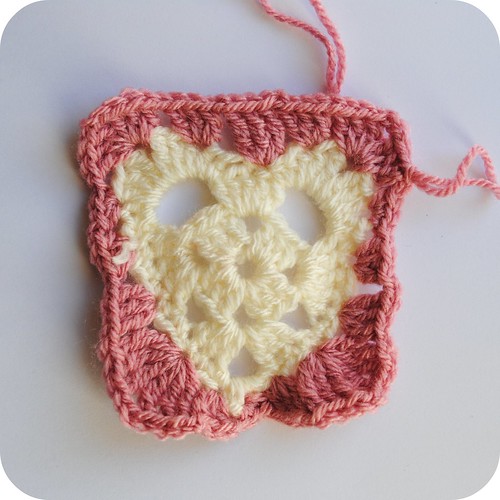
round 5 ::
4 ch (counts as first treble and 1 chain space), *3tr 2ch 3tr in to 2 chain space, 1ch, 3tr 1ch in to each of next 1 chain spaces, of which there should be 4, repeat from * twice more, 3tr 2ch 3tr in to 2 chain space, 1ch 3tr in to next three 1 chain spaces, 1ch, 2tr in to next 1 chain space join to third chain of original 4 chain.
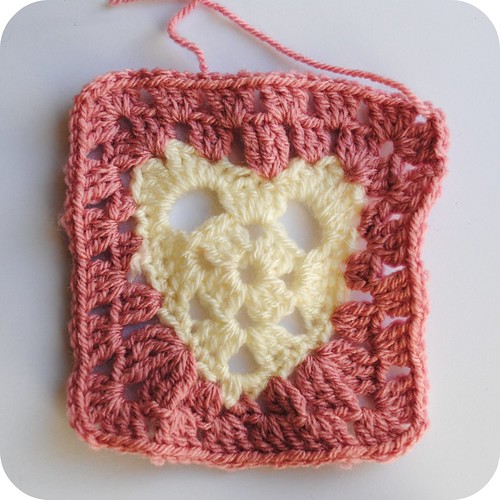
Fasten off.
round 6 ::
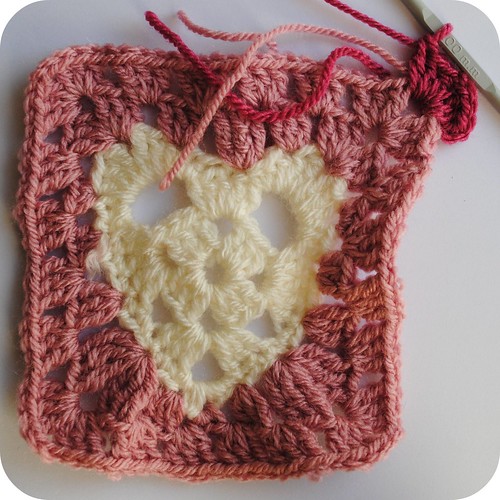
Join yarn C in to 2 chain corner space, 3ch (counts as first treble) 2tr 2ch 3tr in to 2 chain corner space, 1ch 3tr in to each of next 1 chain spaces, of which there should be 5, * 1ch 3tr 2ch 3tr in to 2 chain space, 1ch 3tr in to each of next 1 chain spaces, of which there should be 5, repeat from * twice more, 1ch, join to top of first treble with a ss.
Fasten off.
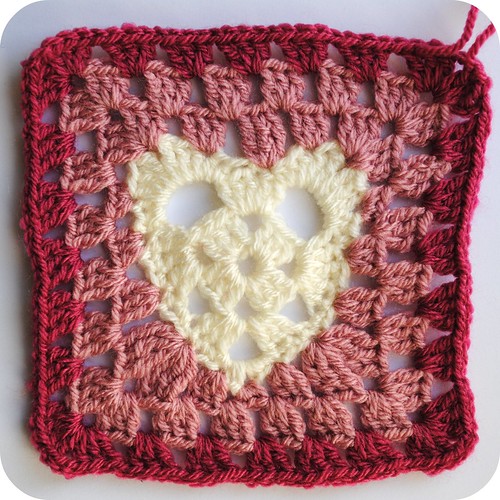
Weave in any loose ends and admire your handy work!


.JPG)


