Please note this pattern is written here in english crochet terms, which differ from american crochet terms, there is a fabulous table
here which gives translations of all the stitches I've use here.
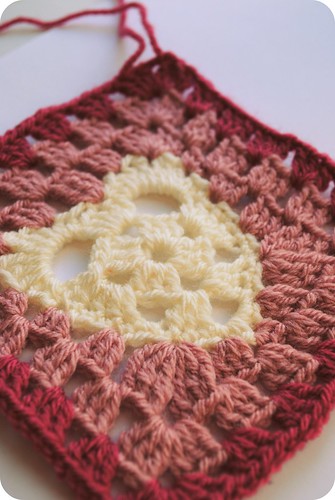
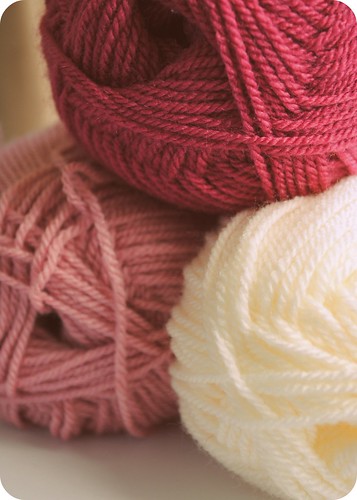
ingredients ::
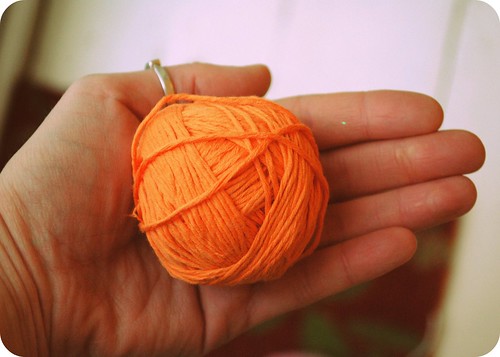
3 x contrasting balls of double knit weight yarn.
I used stylecraft special double knit 100% acrylic in cream (A) pale rose (B) and raspberry (C)
4 mm crochet hook
Abbreviations ::
ch - chain
ss - slip stitch
dc - double crochet
htr - half treble
tr - treble
dtr - double treble
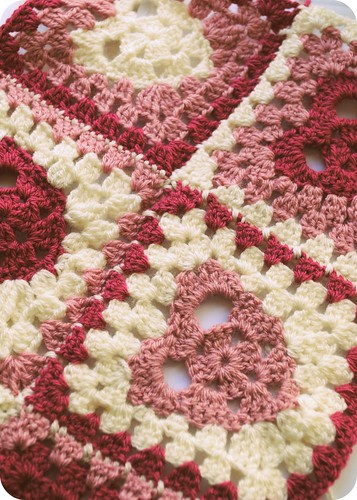
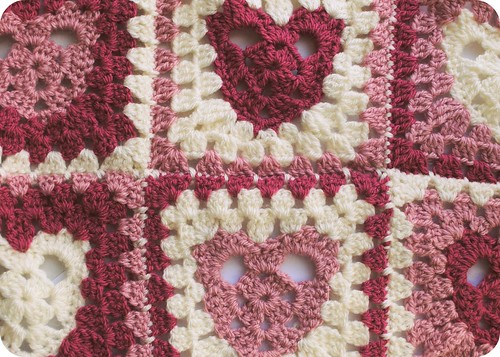
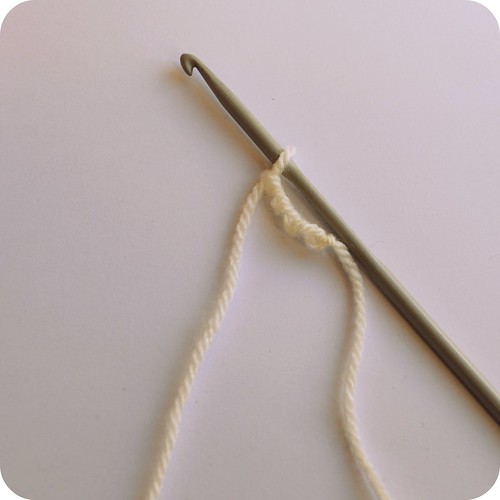
method ::
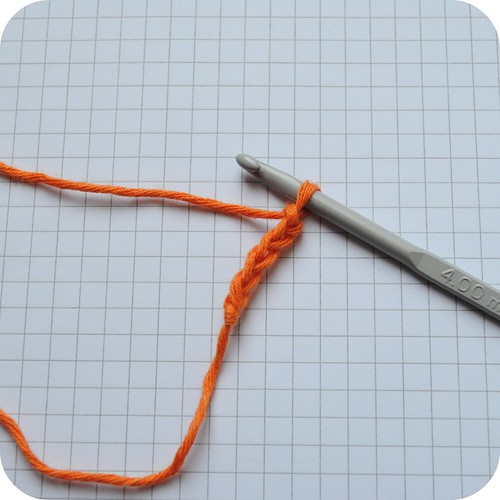
using yarn A chain 4 join with ss
chain 3 (counts as first treble) 2 tr in to middle of ring, *2ch 3 tr, repeat from * a further 2 times, 2 chain, join to top of first chain with a ss.
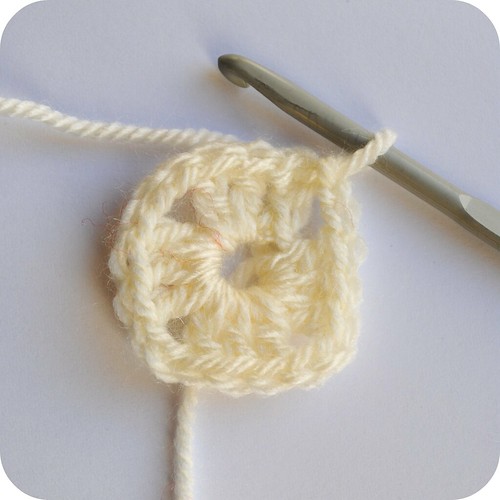
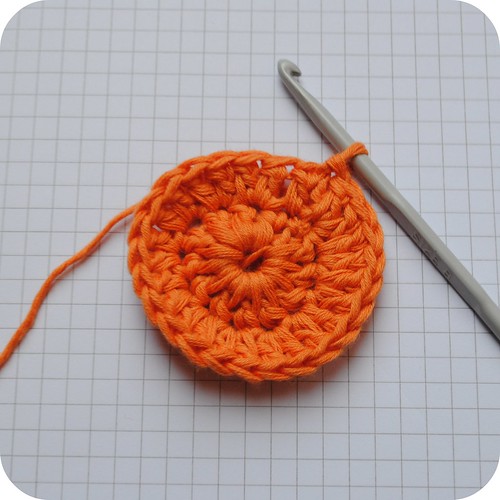
round 2 ::
ss across 2 trebles and ss in to next 2 chain space, chain 3, counts as first treble, 4 tr in to 2 chain space, 1 ch, 3 tr 2ch 3tr in to next 2 chain space (this will be the bottom tip of the heart), 1 ch, 5 tr in to next 2 chain space, 4 ch, 5 tr in to next 3 chain space, 4 chain, join to top of first treble with ss.

round 3 ::
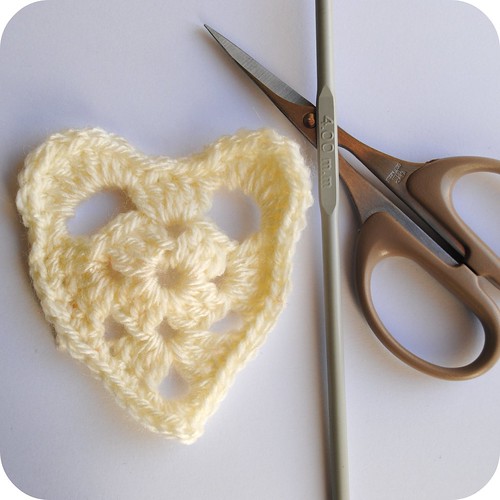
chain 1, dc in top of next 4 trebles, dc in to 1 chain space, dc in top of next 3 trebles, 3dc 2ch 3dc in to 2 chain space (this is the bottom tip of the heart) dc in top of next 3 trebles, dc in 1 chain space, dc in top of next 5 trebles, 2 htr 2 tr 2 dtr 2 tr 2 htr in next 4 chain space, ss in top of third treble, 2 htr 2 tr 2 dtr 2 tr 2 htr in next 4 chain space, join to first double with ss.
Fasten off.
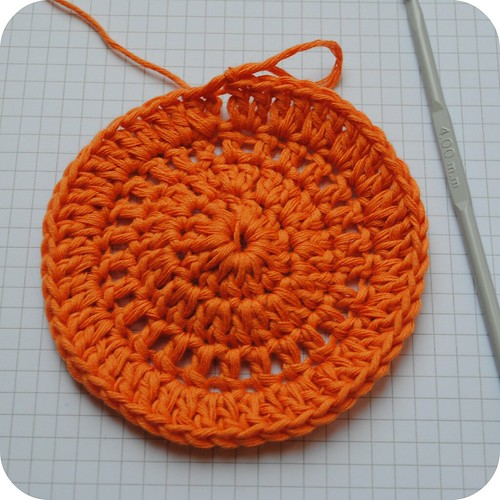
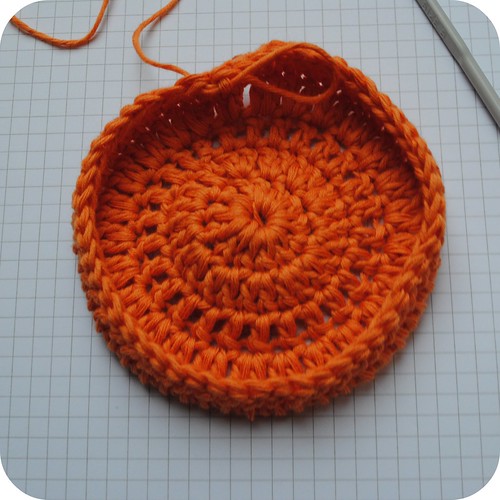
round 4 ::
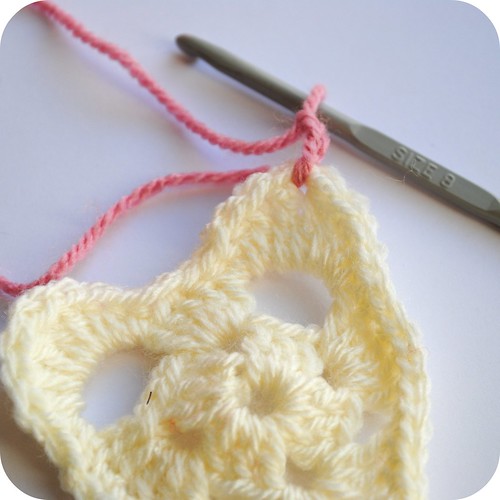
join yarn B between the 2 double trebles at top right of heart, chain 3 (counts as first treble) 2tr 2ch 3tr in to space between 2 double trebles, 1ch, 3tr in to third space along, 1ch, 3dtr in to third space along, 1ch, 3tr in to third space along, 1ch, 3tr 2ch 3tr in to space between 2dtr from previous round, 1ch, 3dc in to third space along, 1ch, 3htr in to third space along, 1ch, 3tr in to third space along, 1ch, 3dtr 2ch 3dtr in to third space along, 1ch, 3tr in to third space along, 1ch, 3dc in to 2 chain space at bottom of heart, 1ch, 3tr in to third space along, 1ch, 3dtr 2ch 3dtr in to third space along, 1ch, 3tr in to third space along, 1ch, 3htr in to third space along, 1ch, 3dc in to third chain along, 1ch, join with ss to first treble.
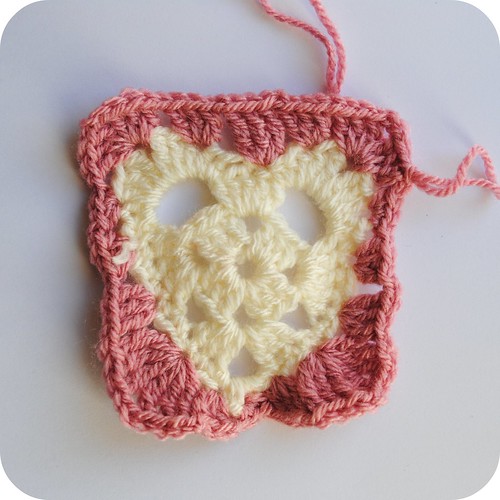
round 5 ::
4 ch (counts as first treble and 1 chain space), *3tr 2ch 3tr in to 2 chain space, 1ch, 3tr 1ch in to each of next 1 chain spaces, of which there should be 4, repeat from * twice more, 3tr 2ch 3tr in to 2 chain space, 1ch 3tr in to next three 1 chain spaces, 1ch, 2tr in to next 1 chain space join to third chain of original 4 chain.
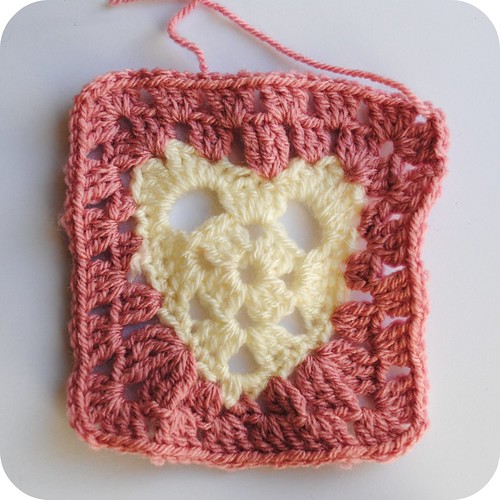
Fasten off.
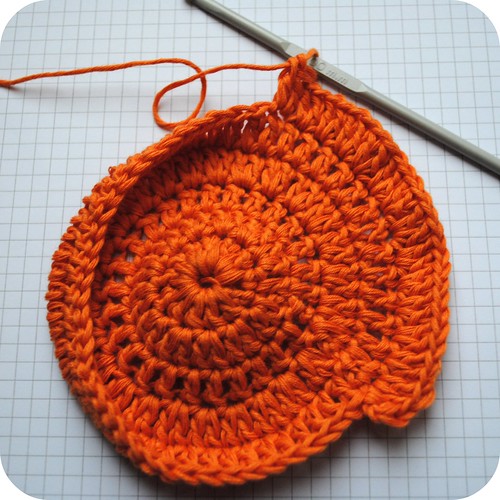
round 6 ::
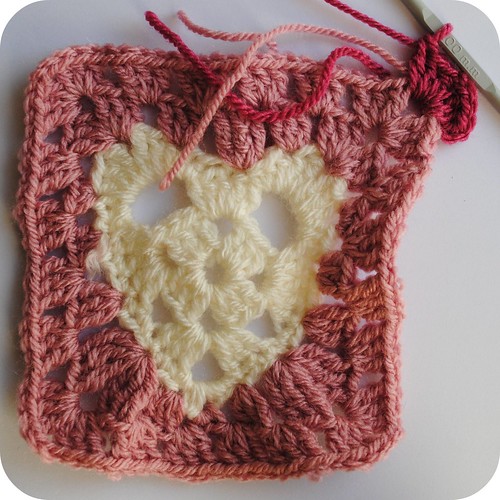
Join yarn C in to 2 chain corner space, 3ch (counts as first treble) 2tr 2ch 3tr in to 2 chain corner space, 1ch 3tr in to each of next 1 chain spaces, of which there should be 5, * 1ch 3tr 2ch 3tr in to 2 chain space, 1ch 3tr in to each of next 1 chain spaces, of which there should be 5, repeat from * twice more, 1ch, join to top of first treble with a ss.
Fasten off.

Weave in any loose ends and admire your handy work!